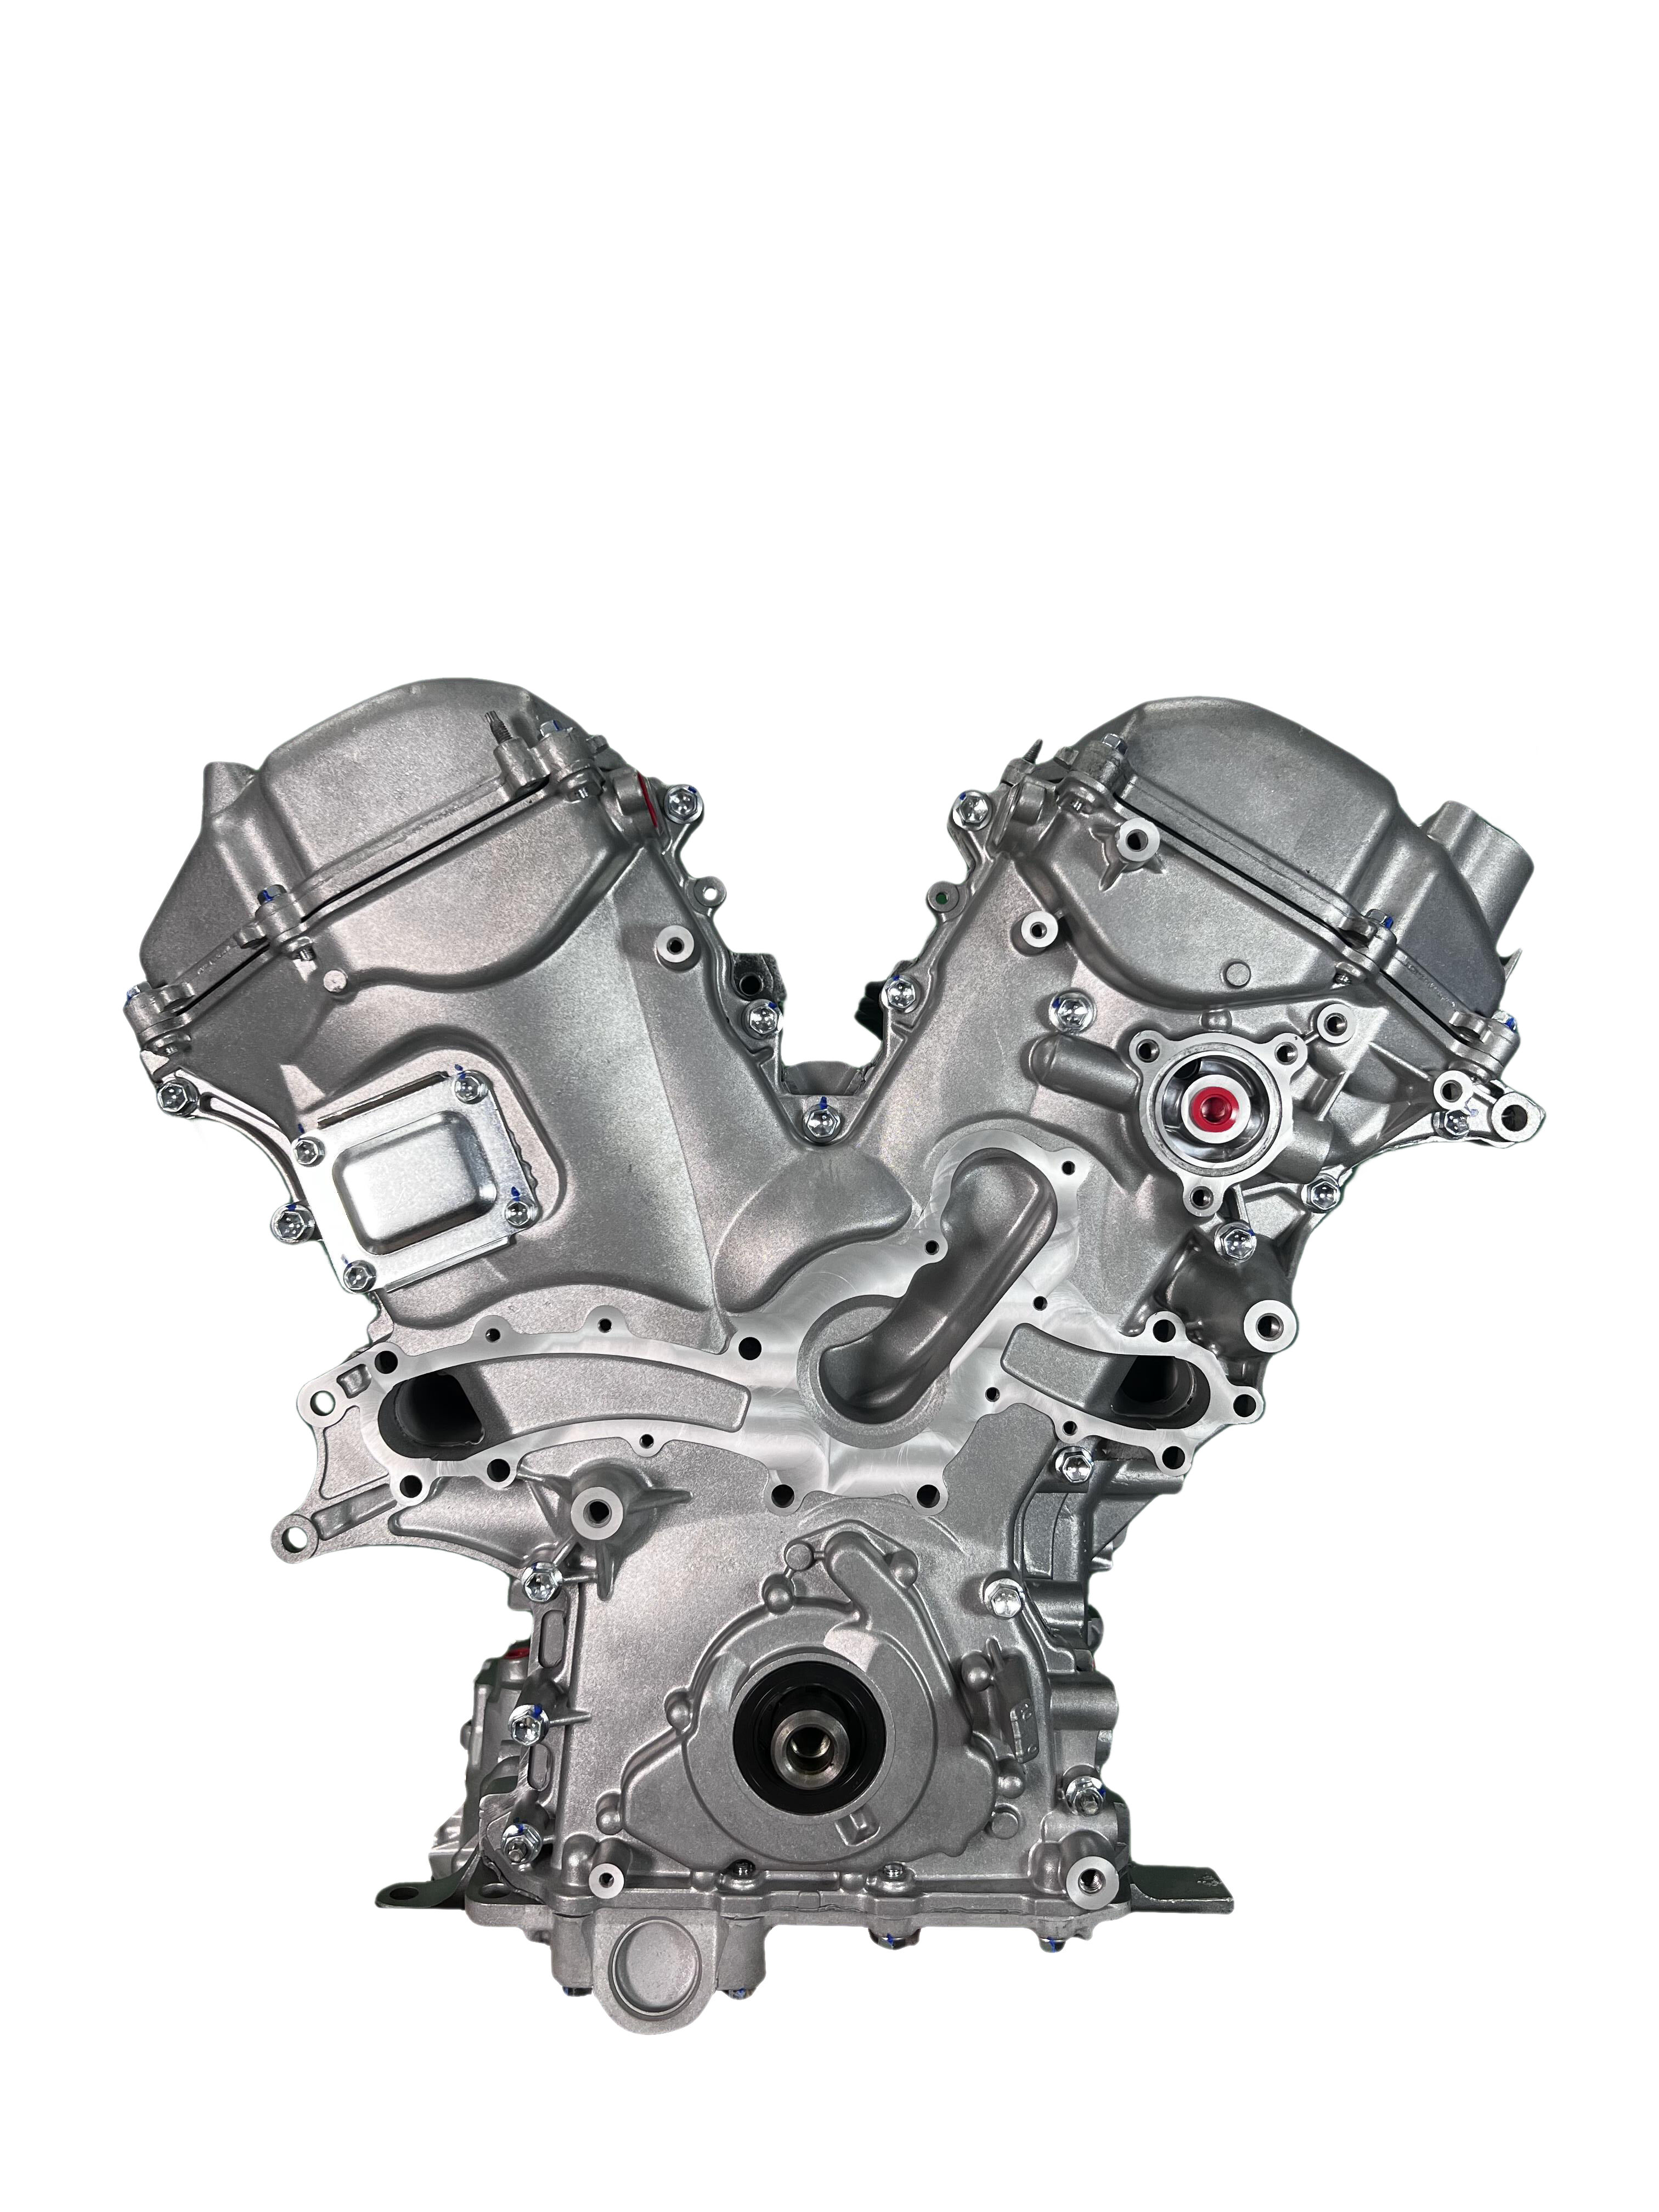
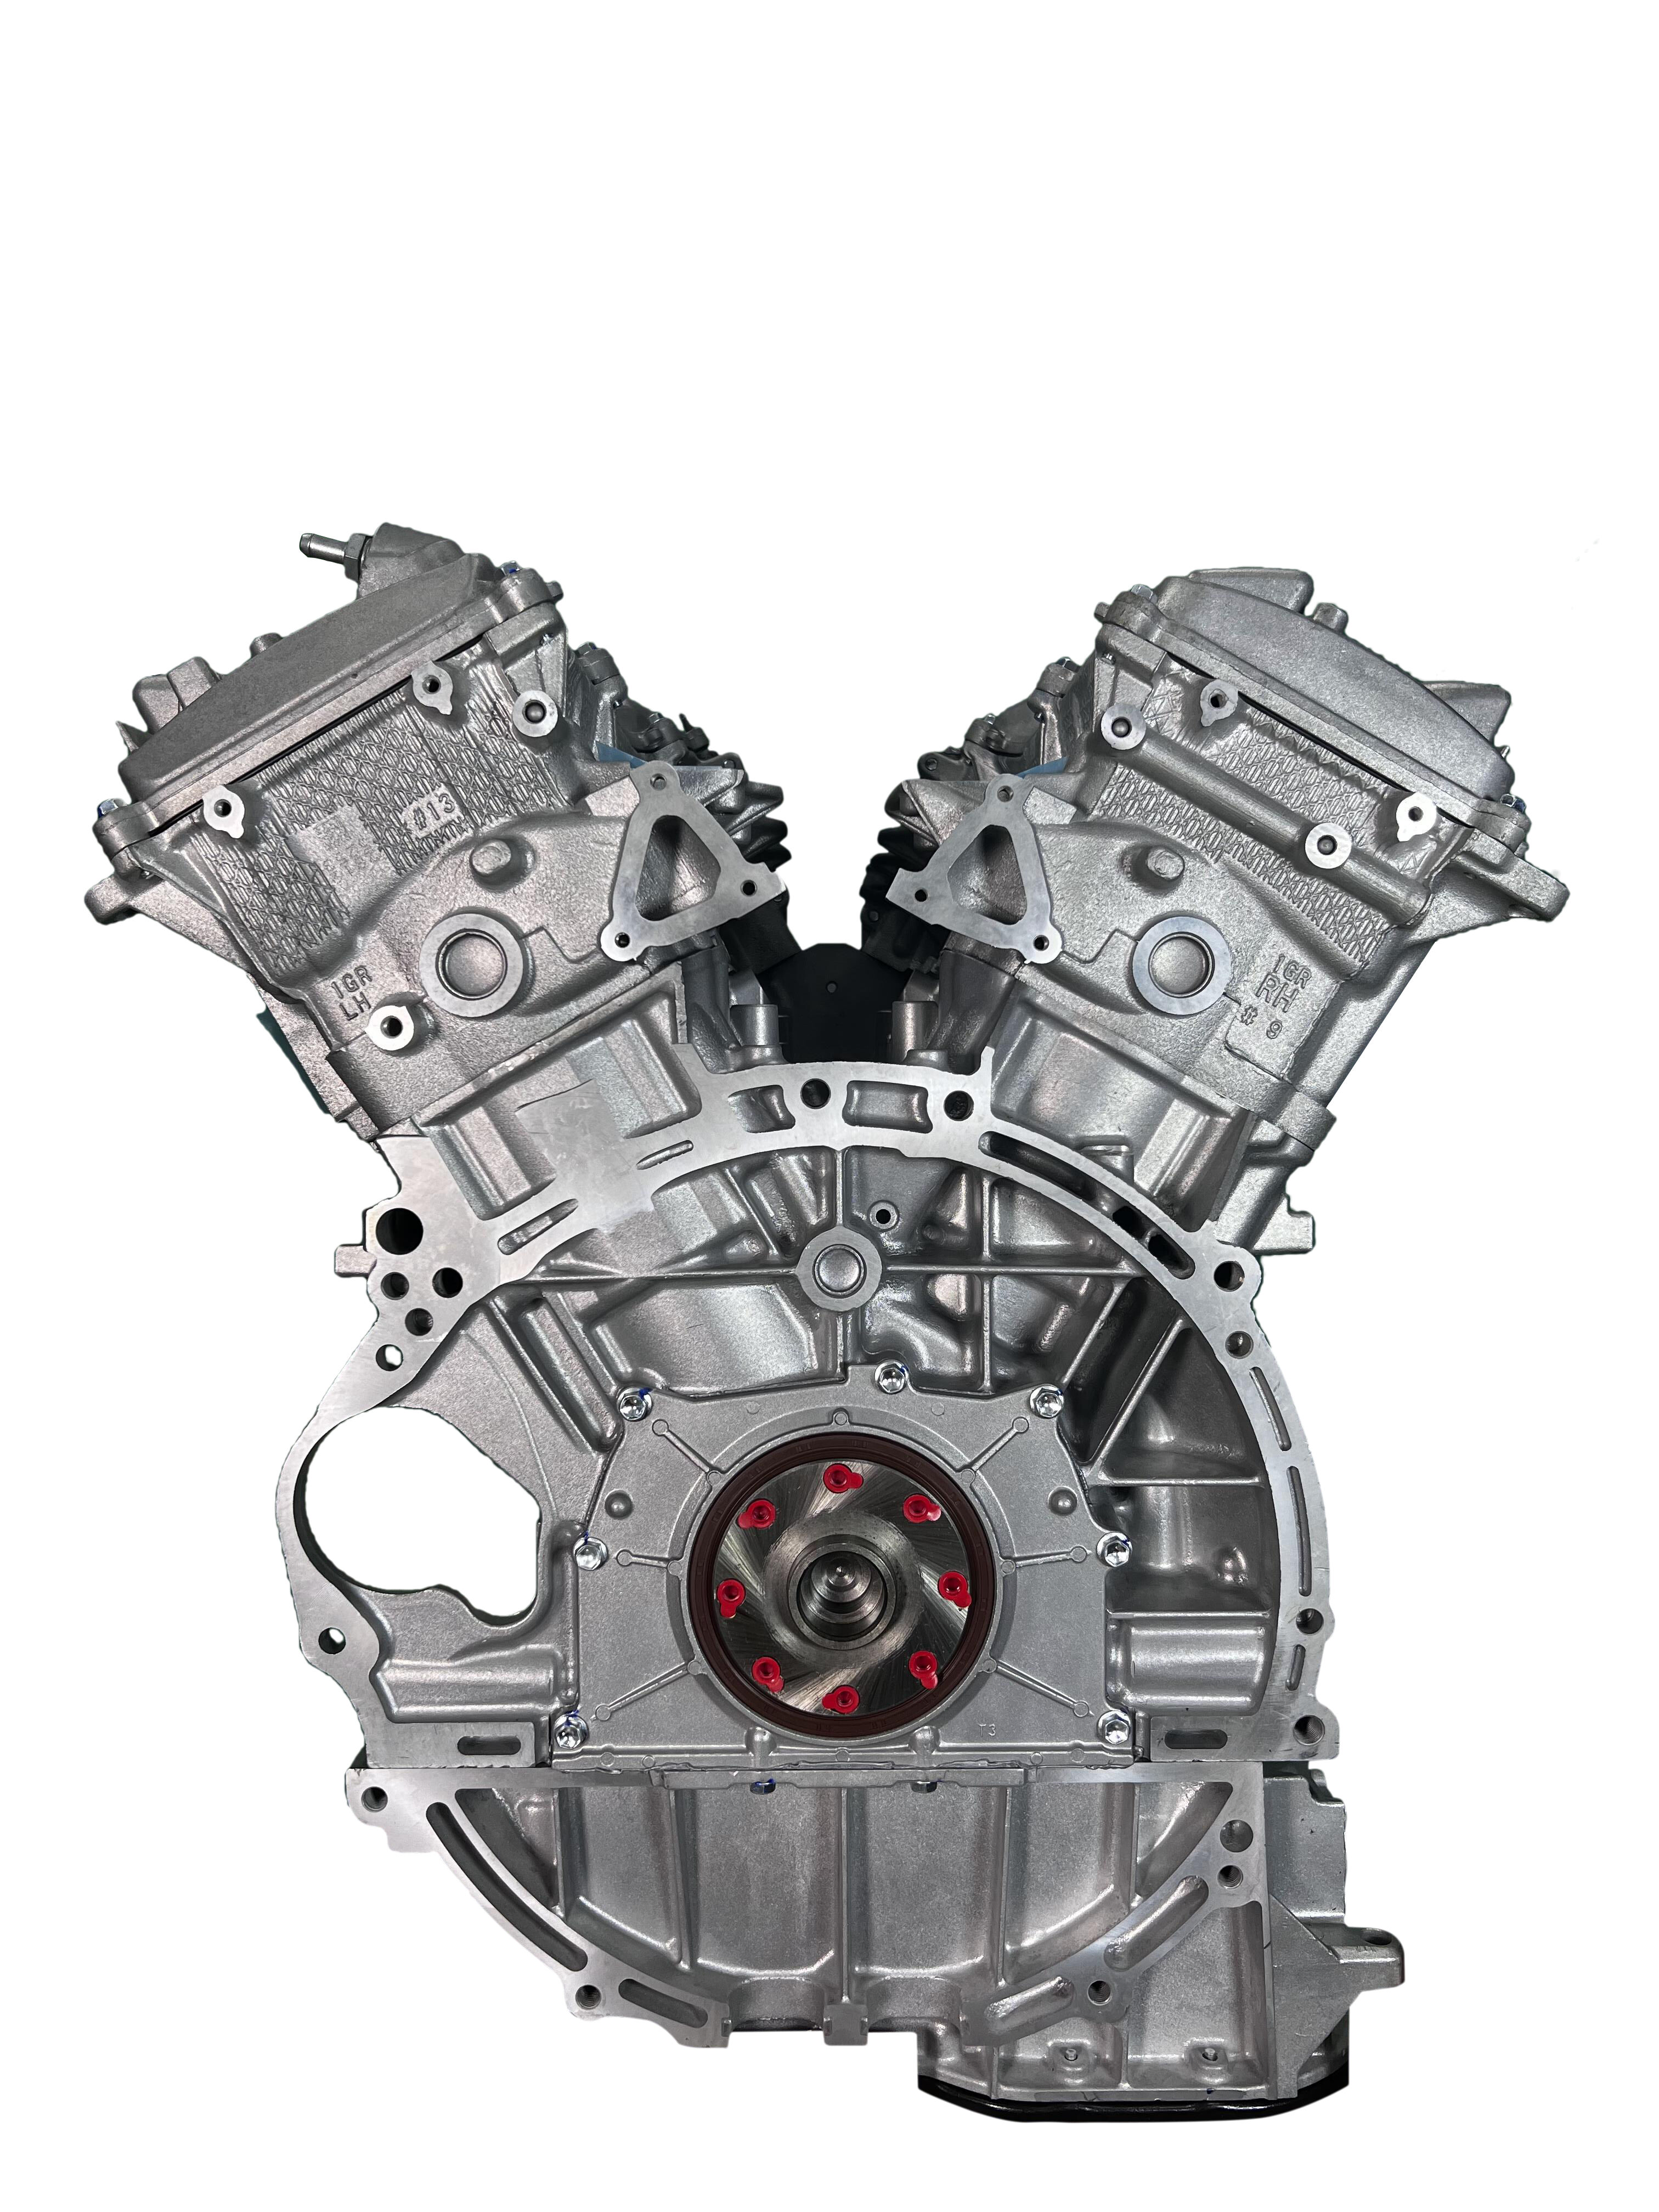
how to install remanufactured engine components
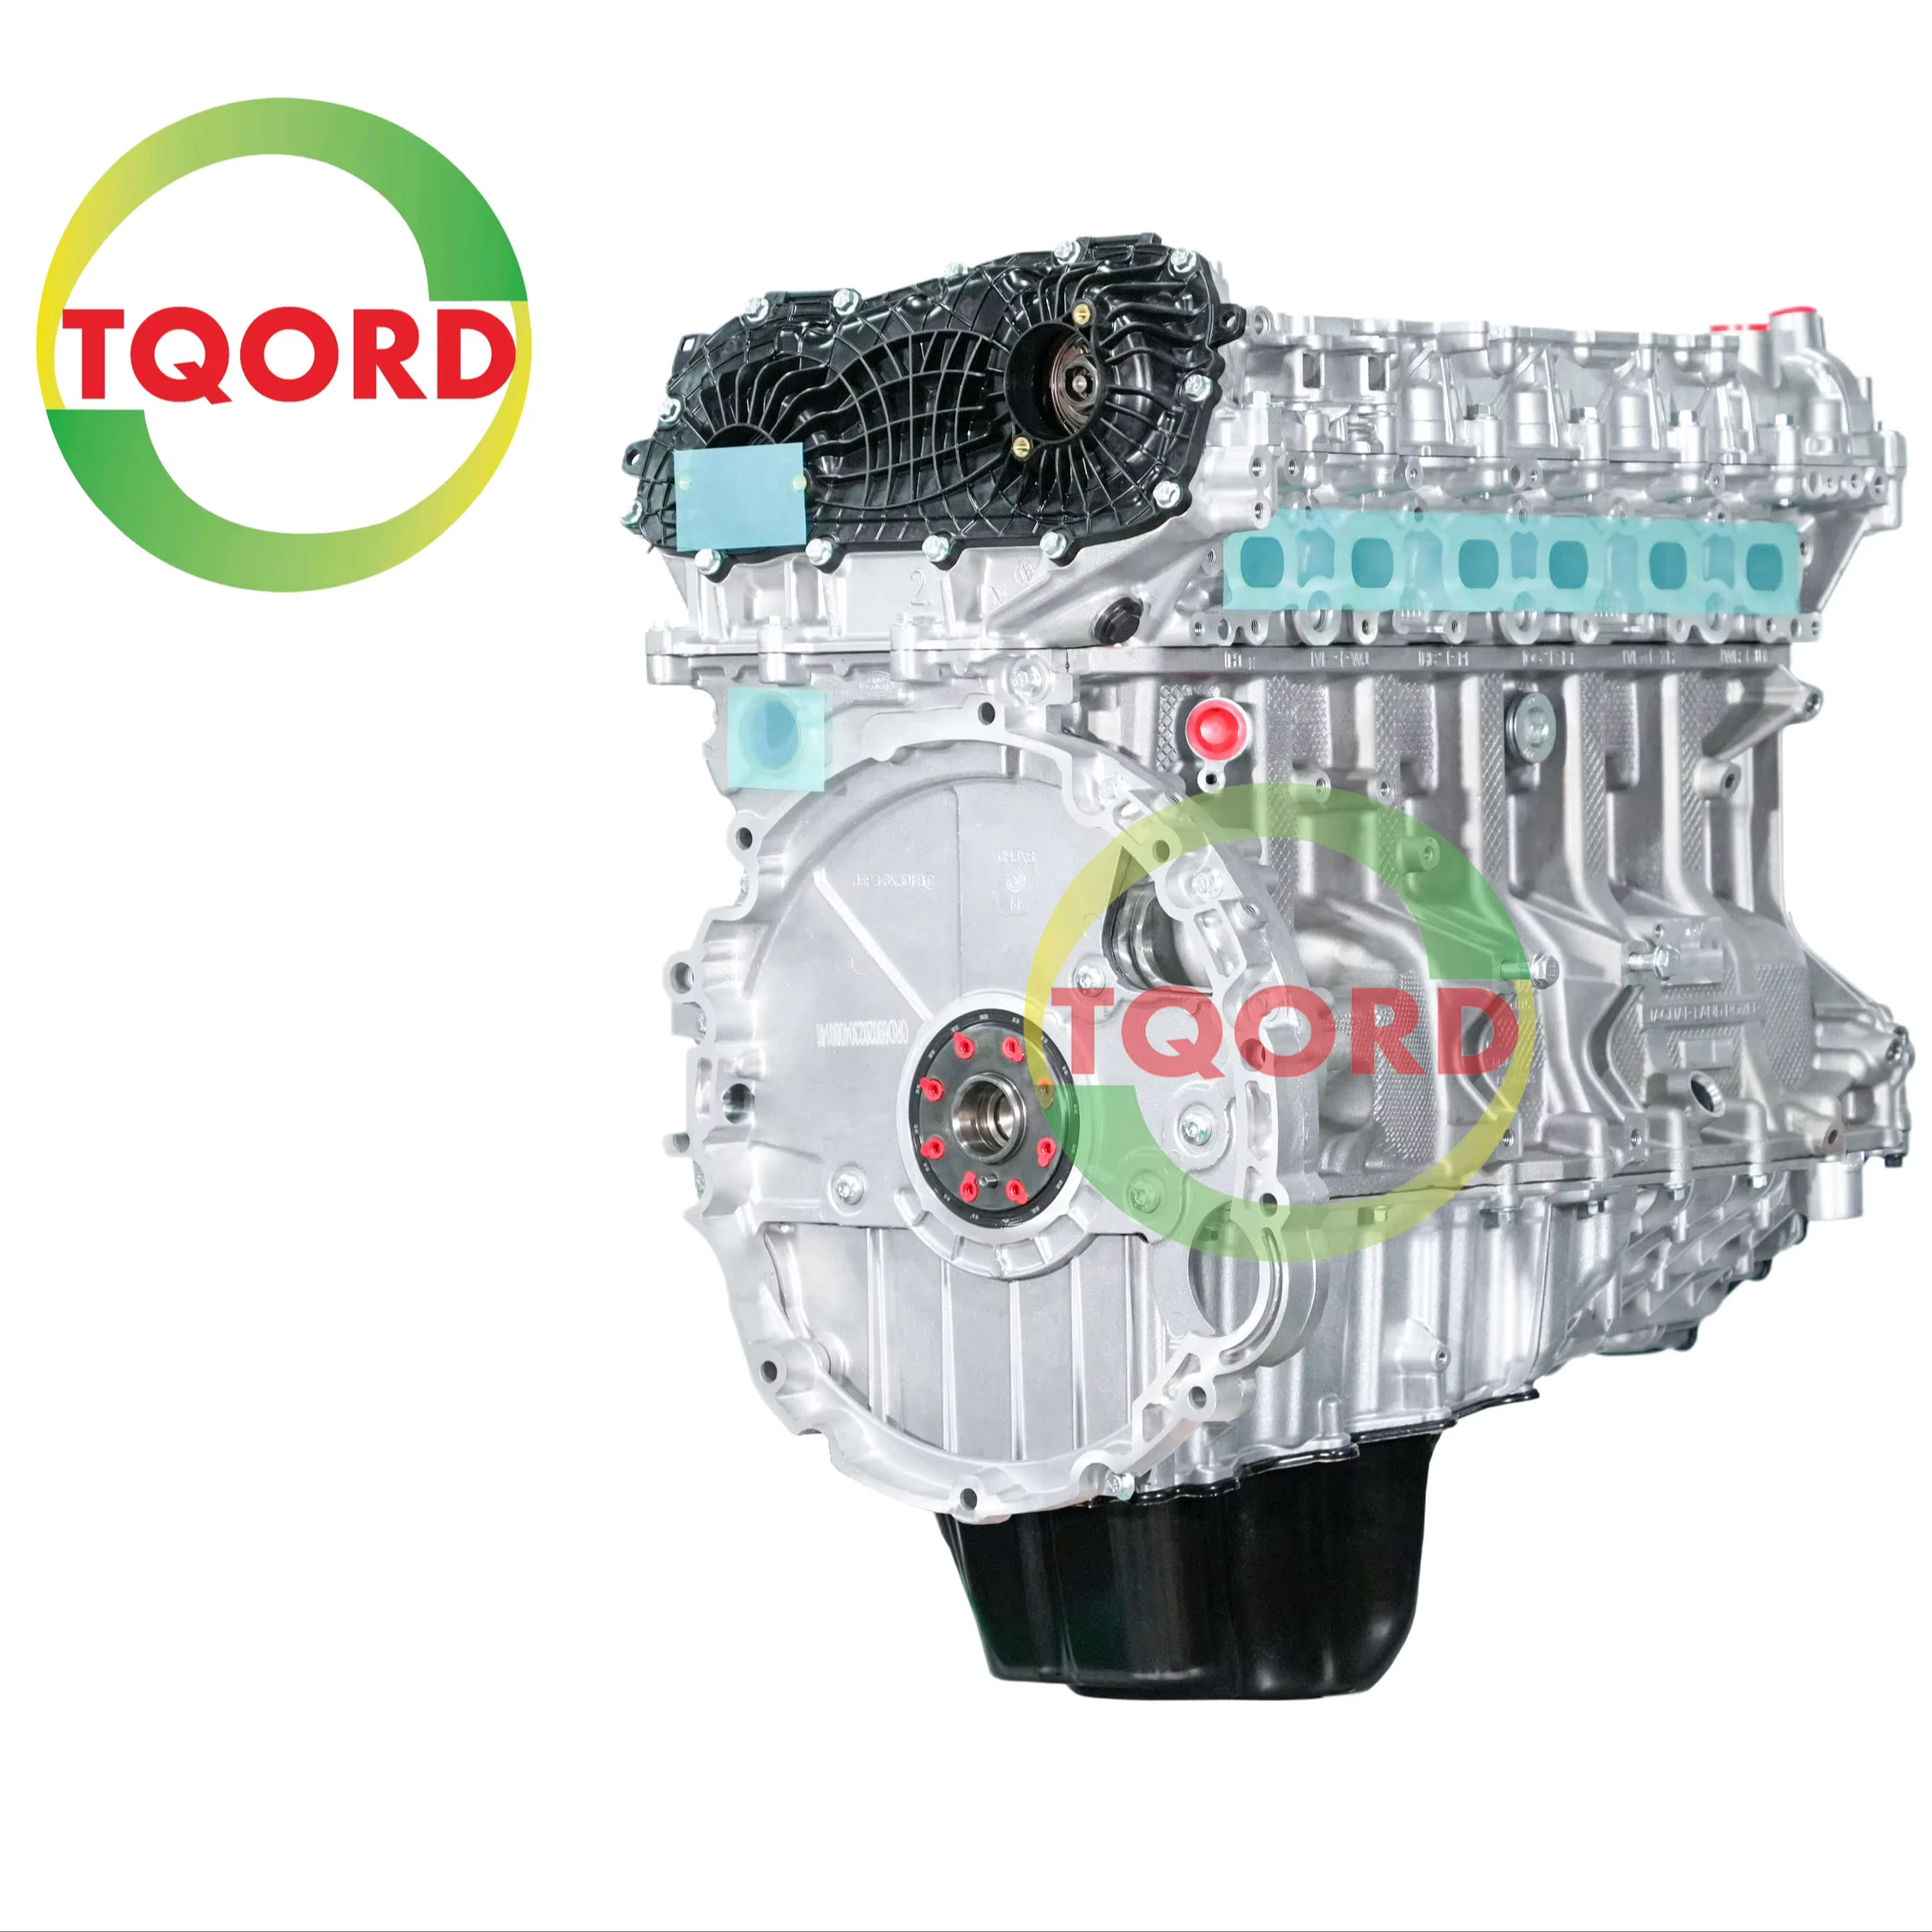
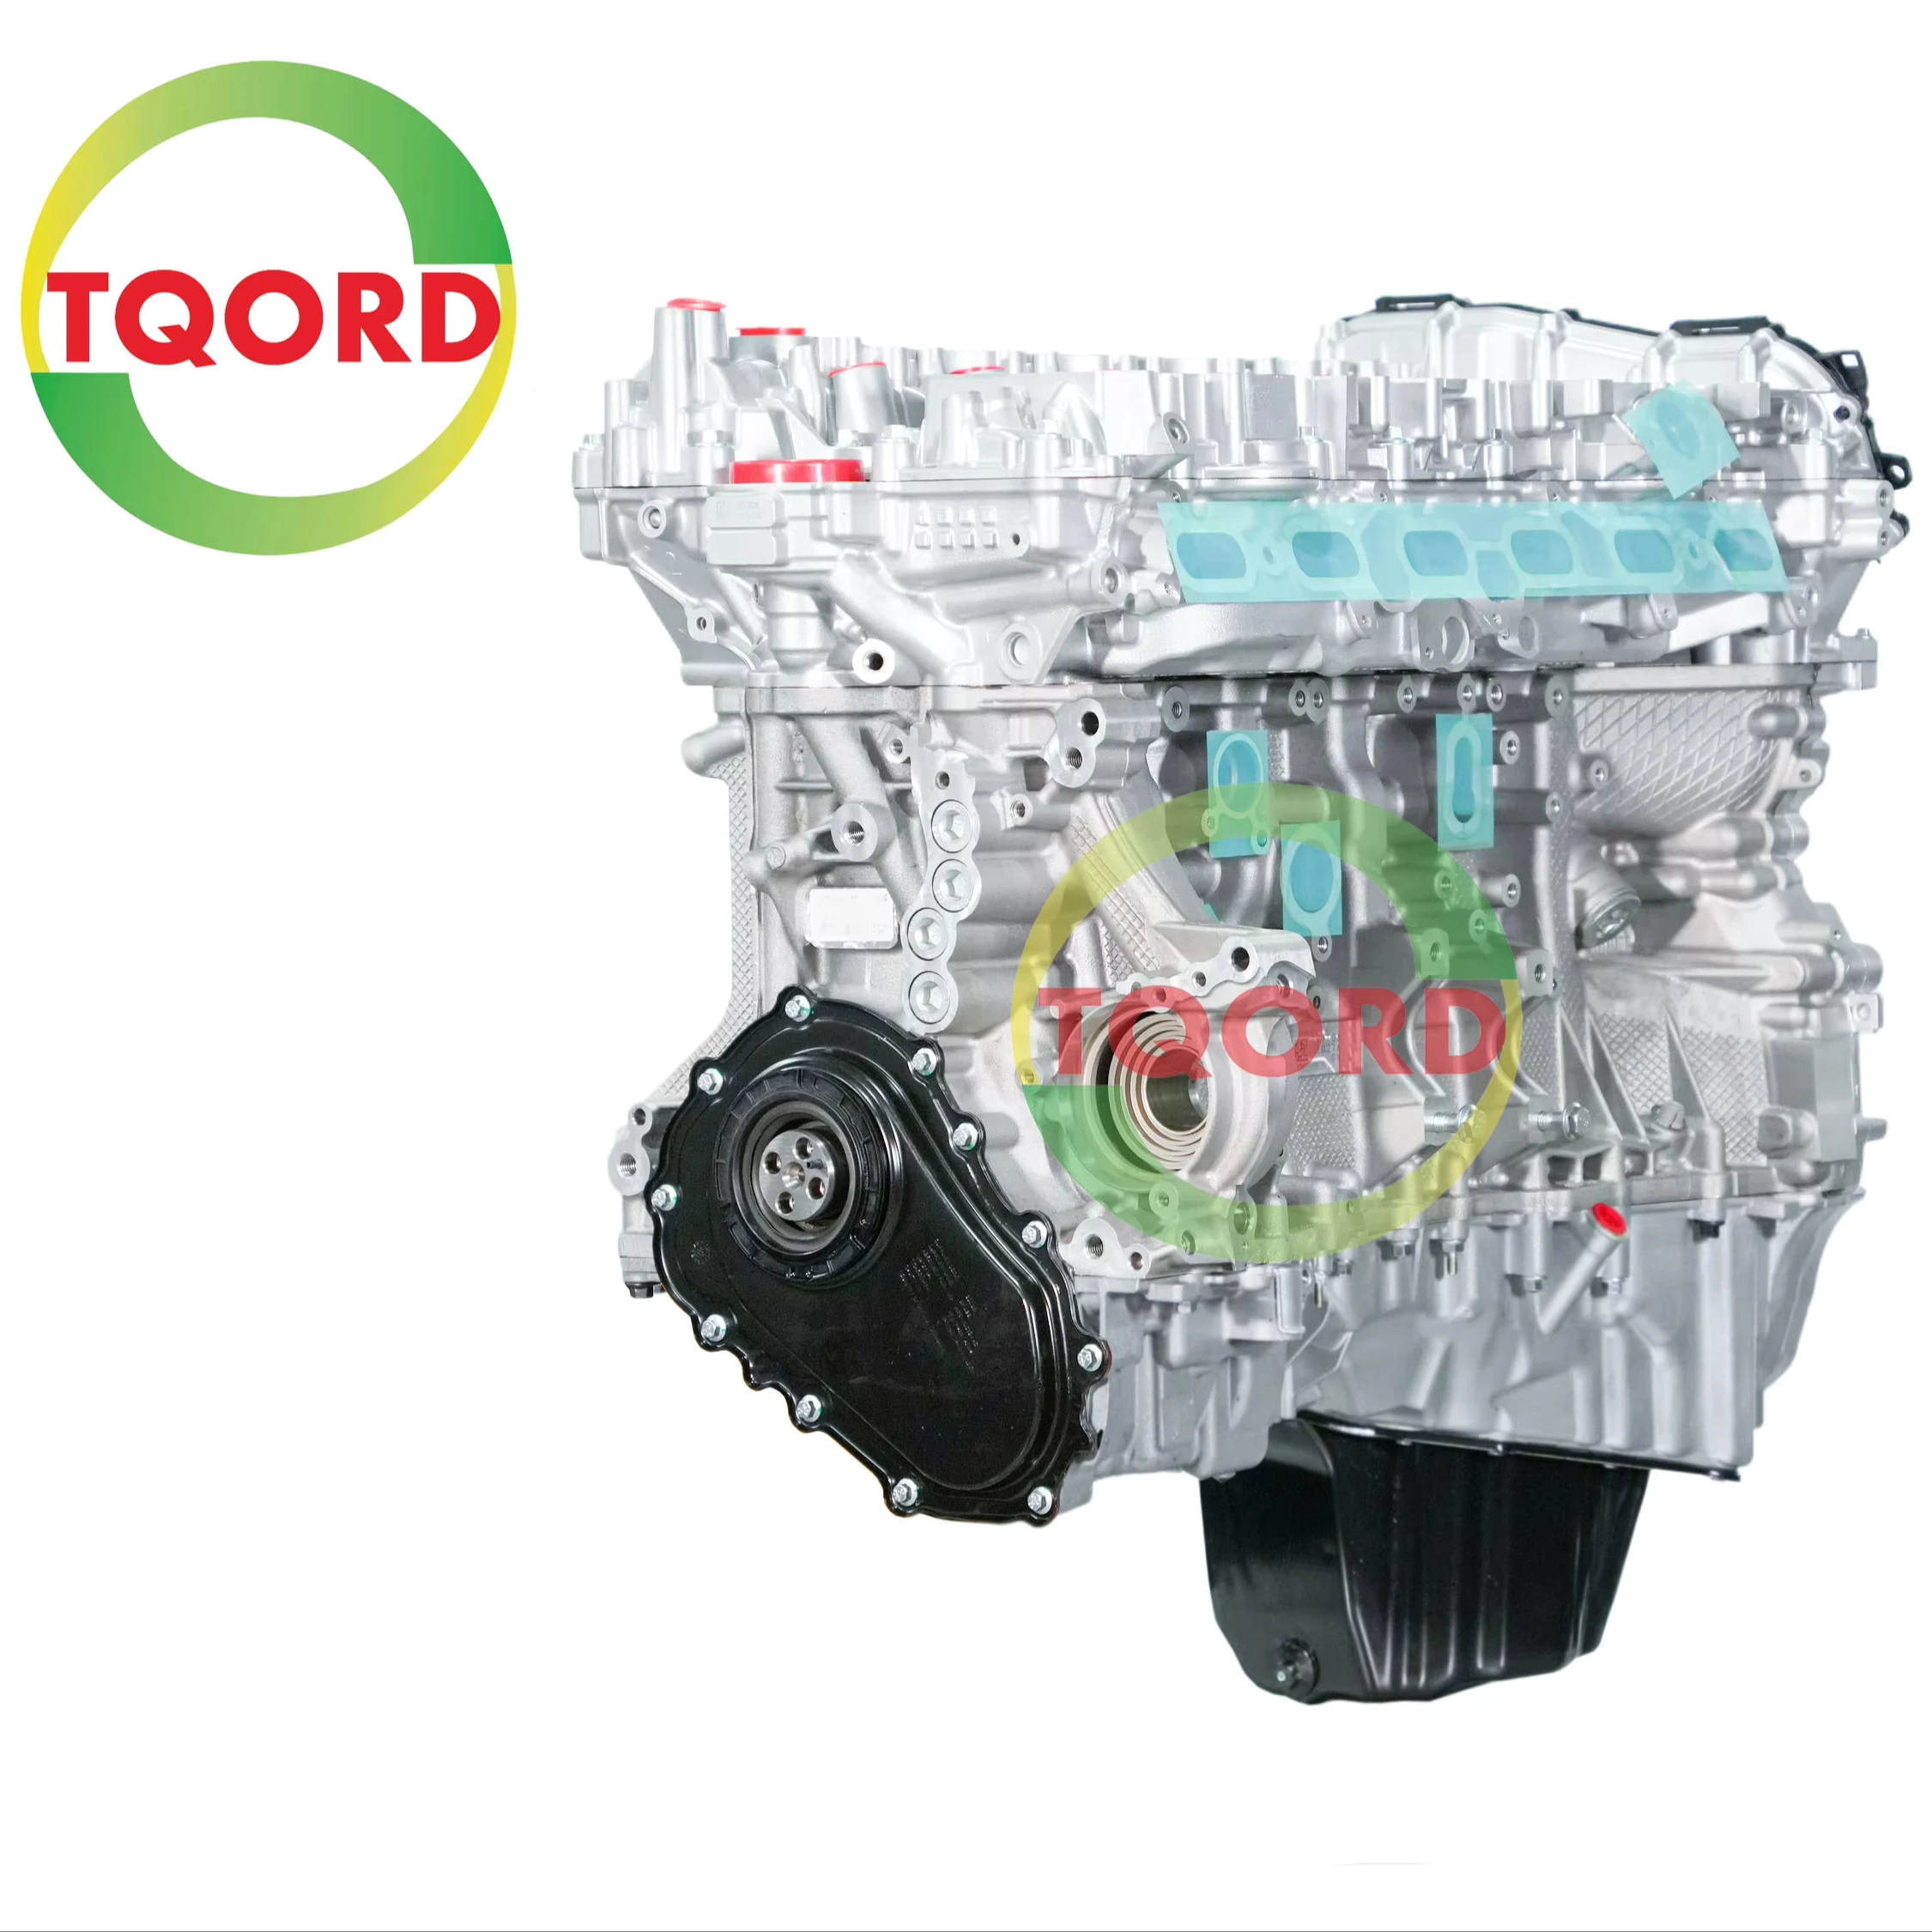
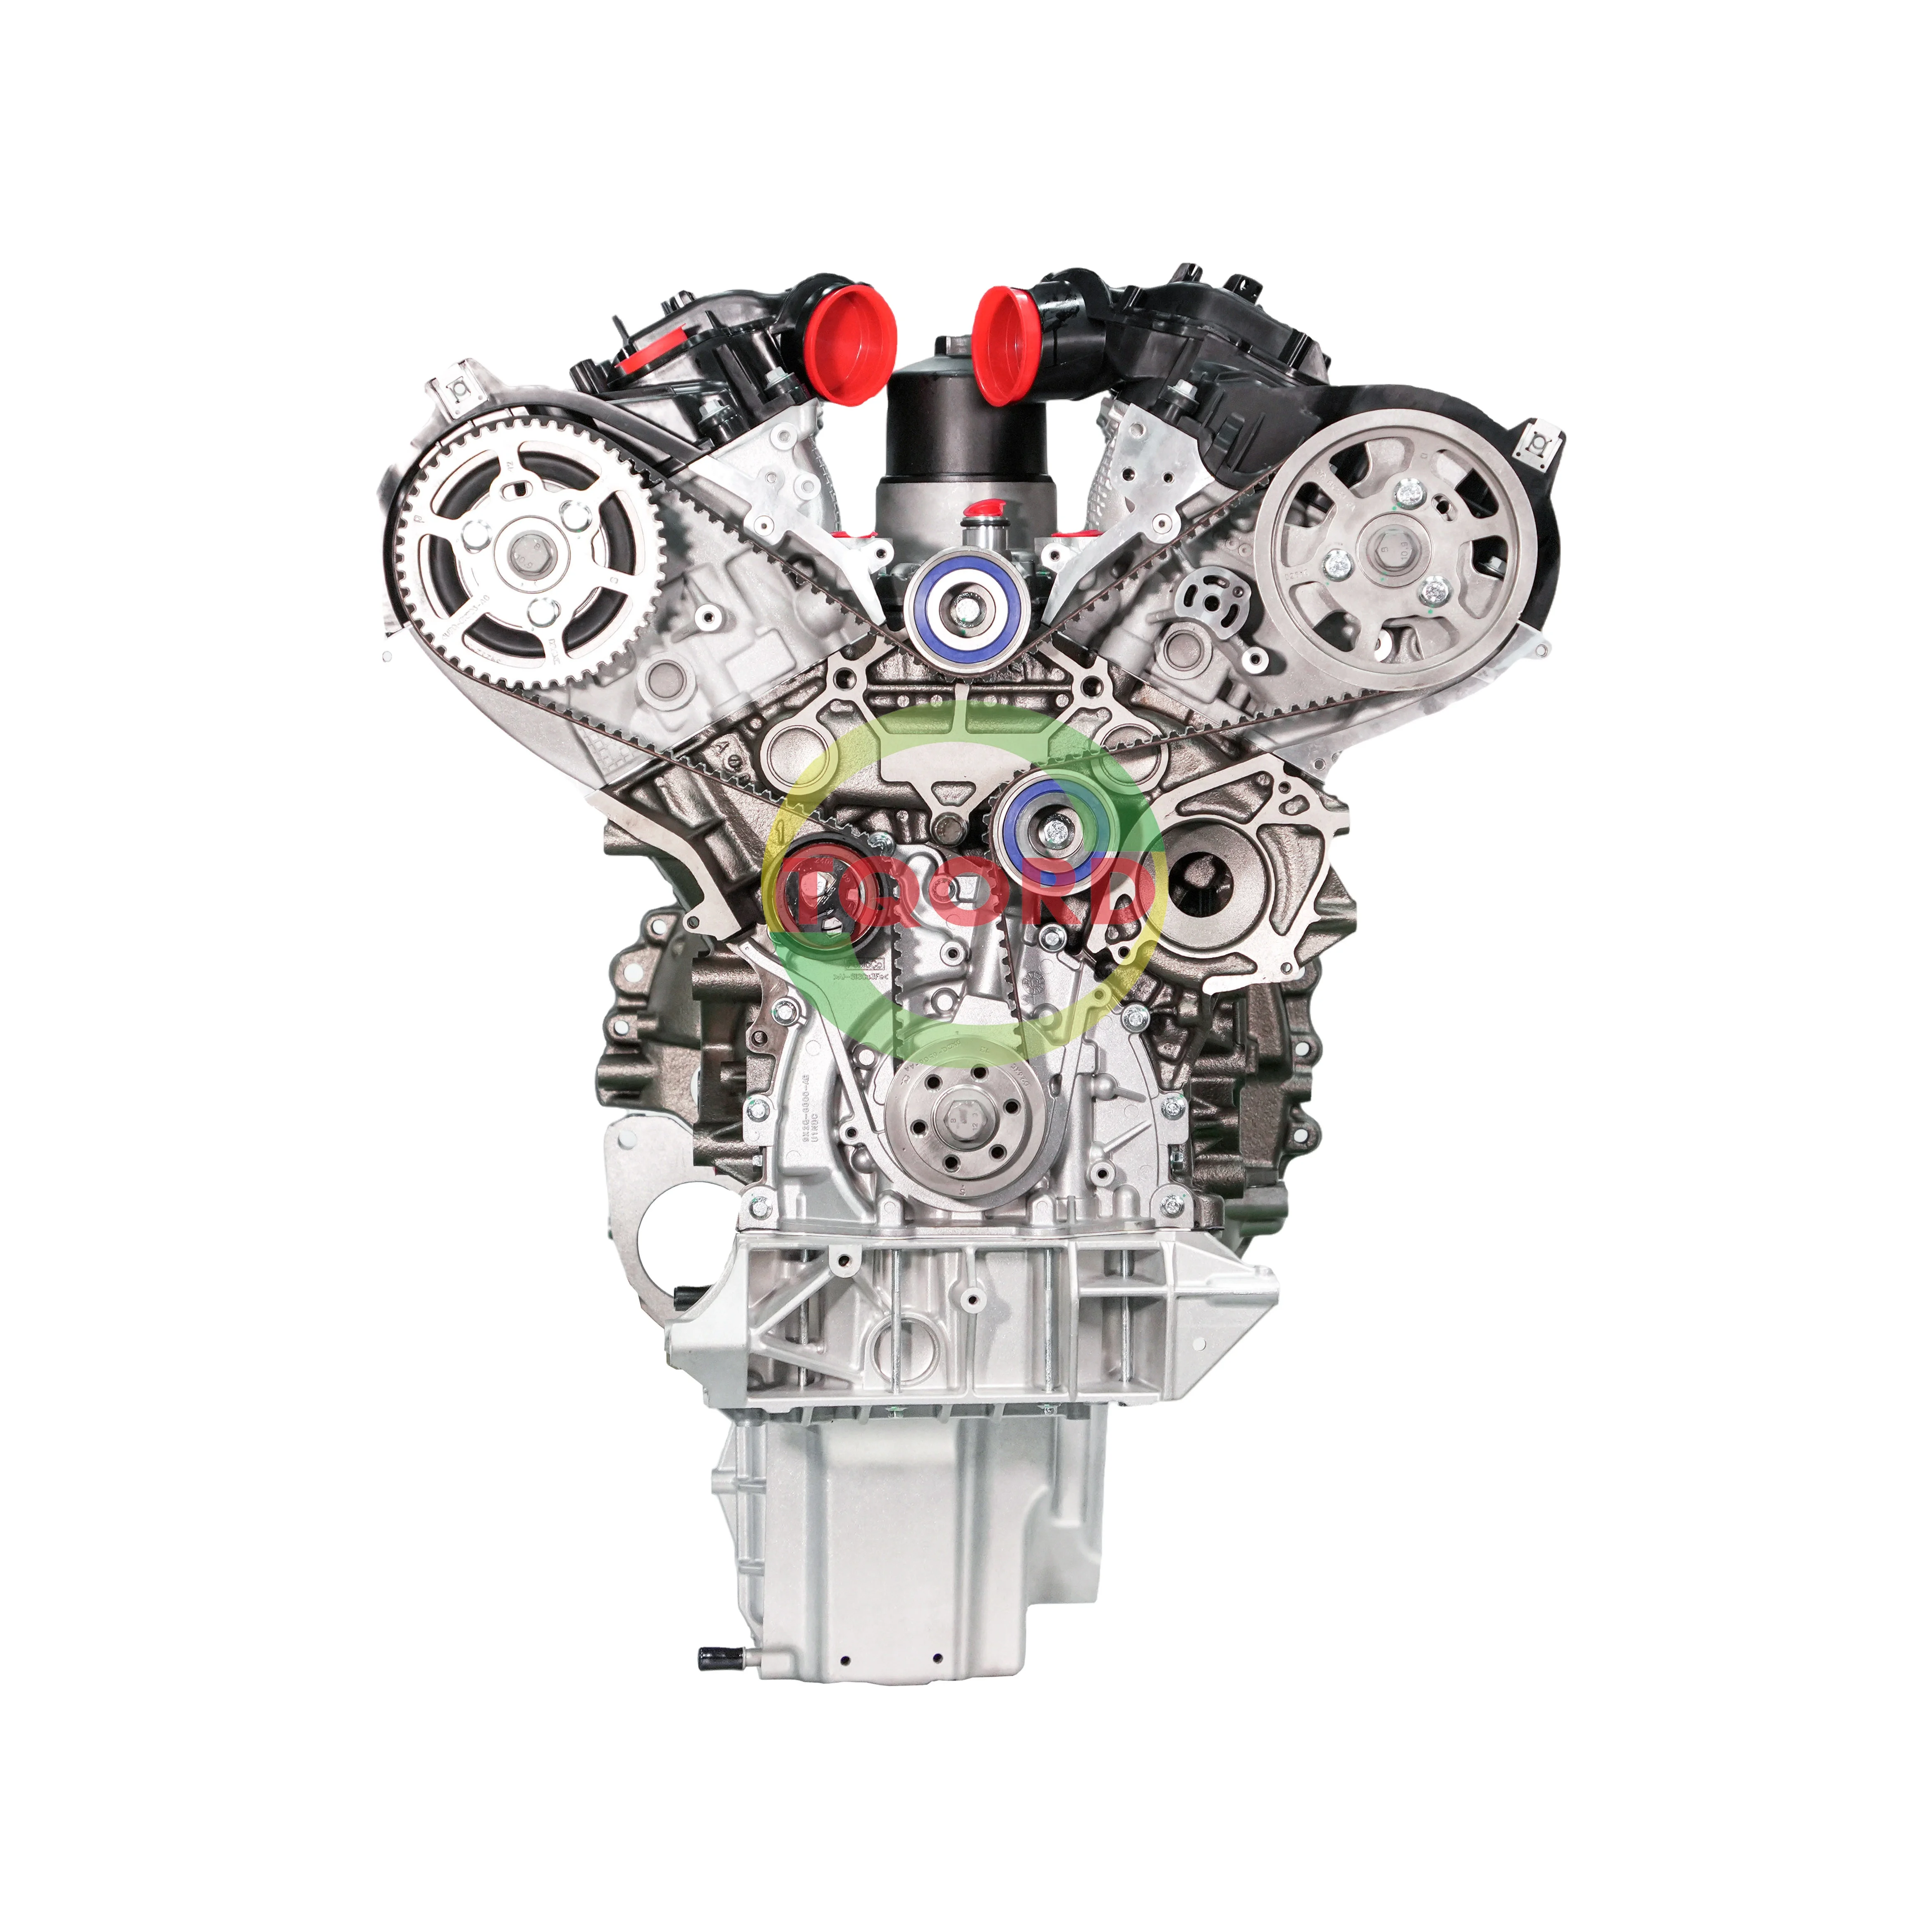
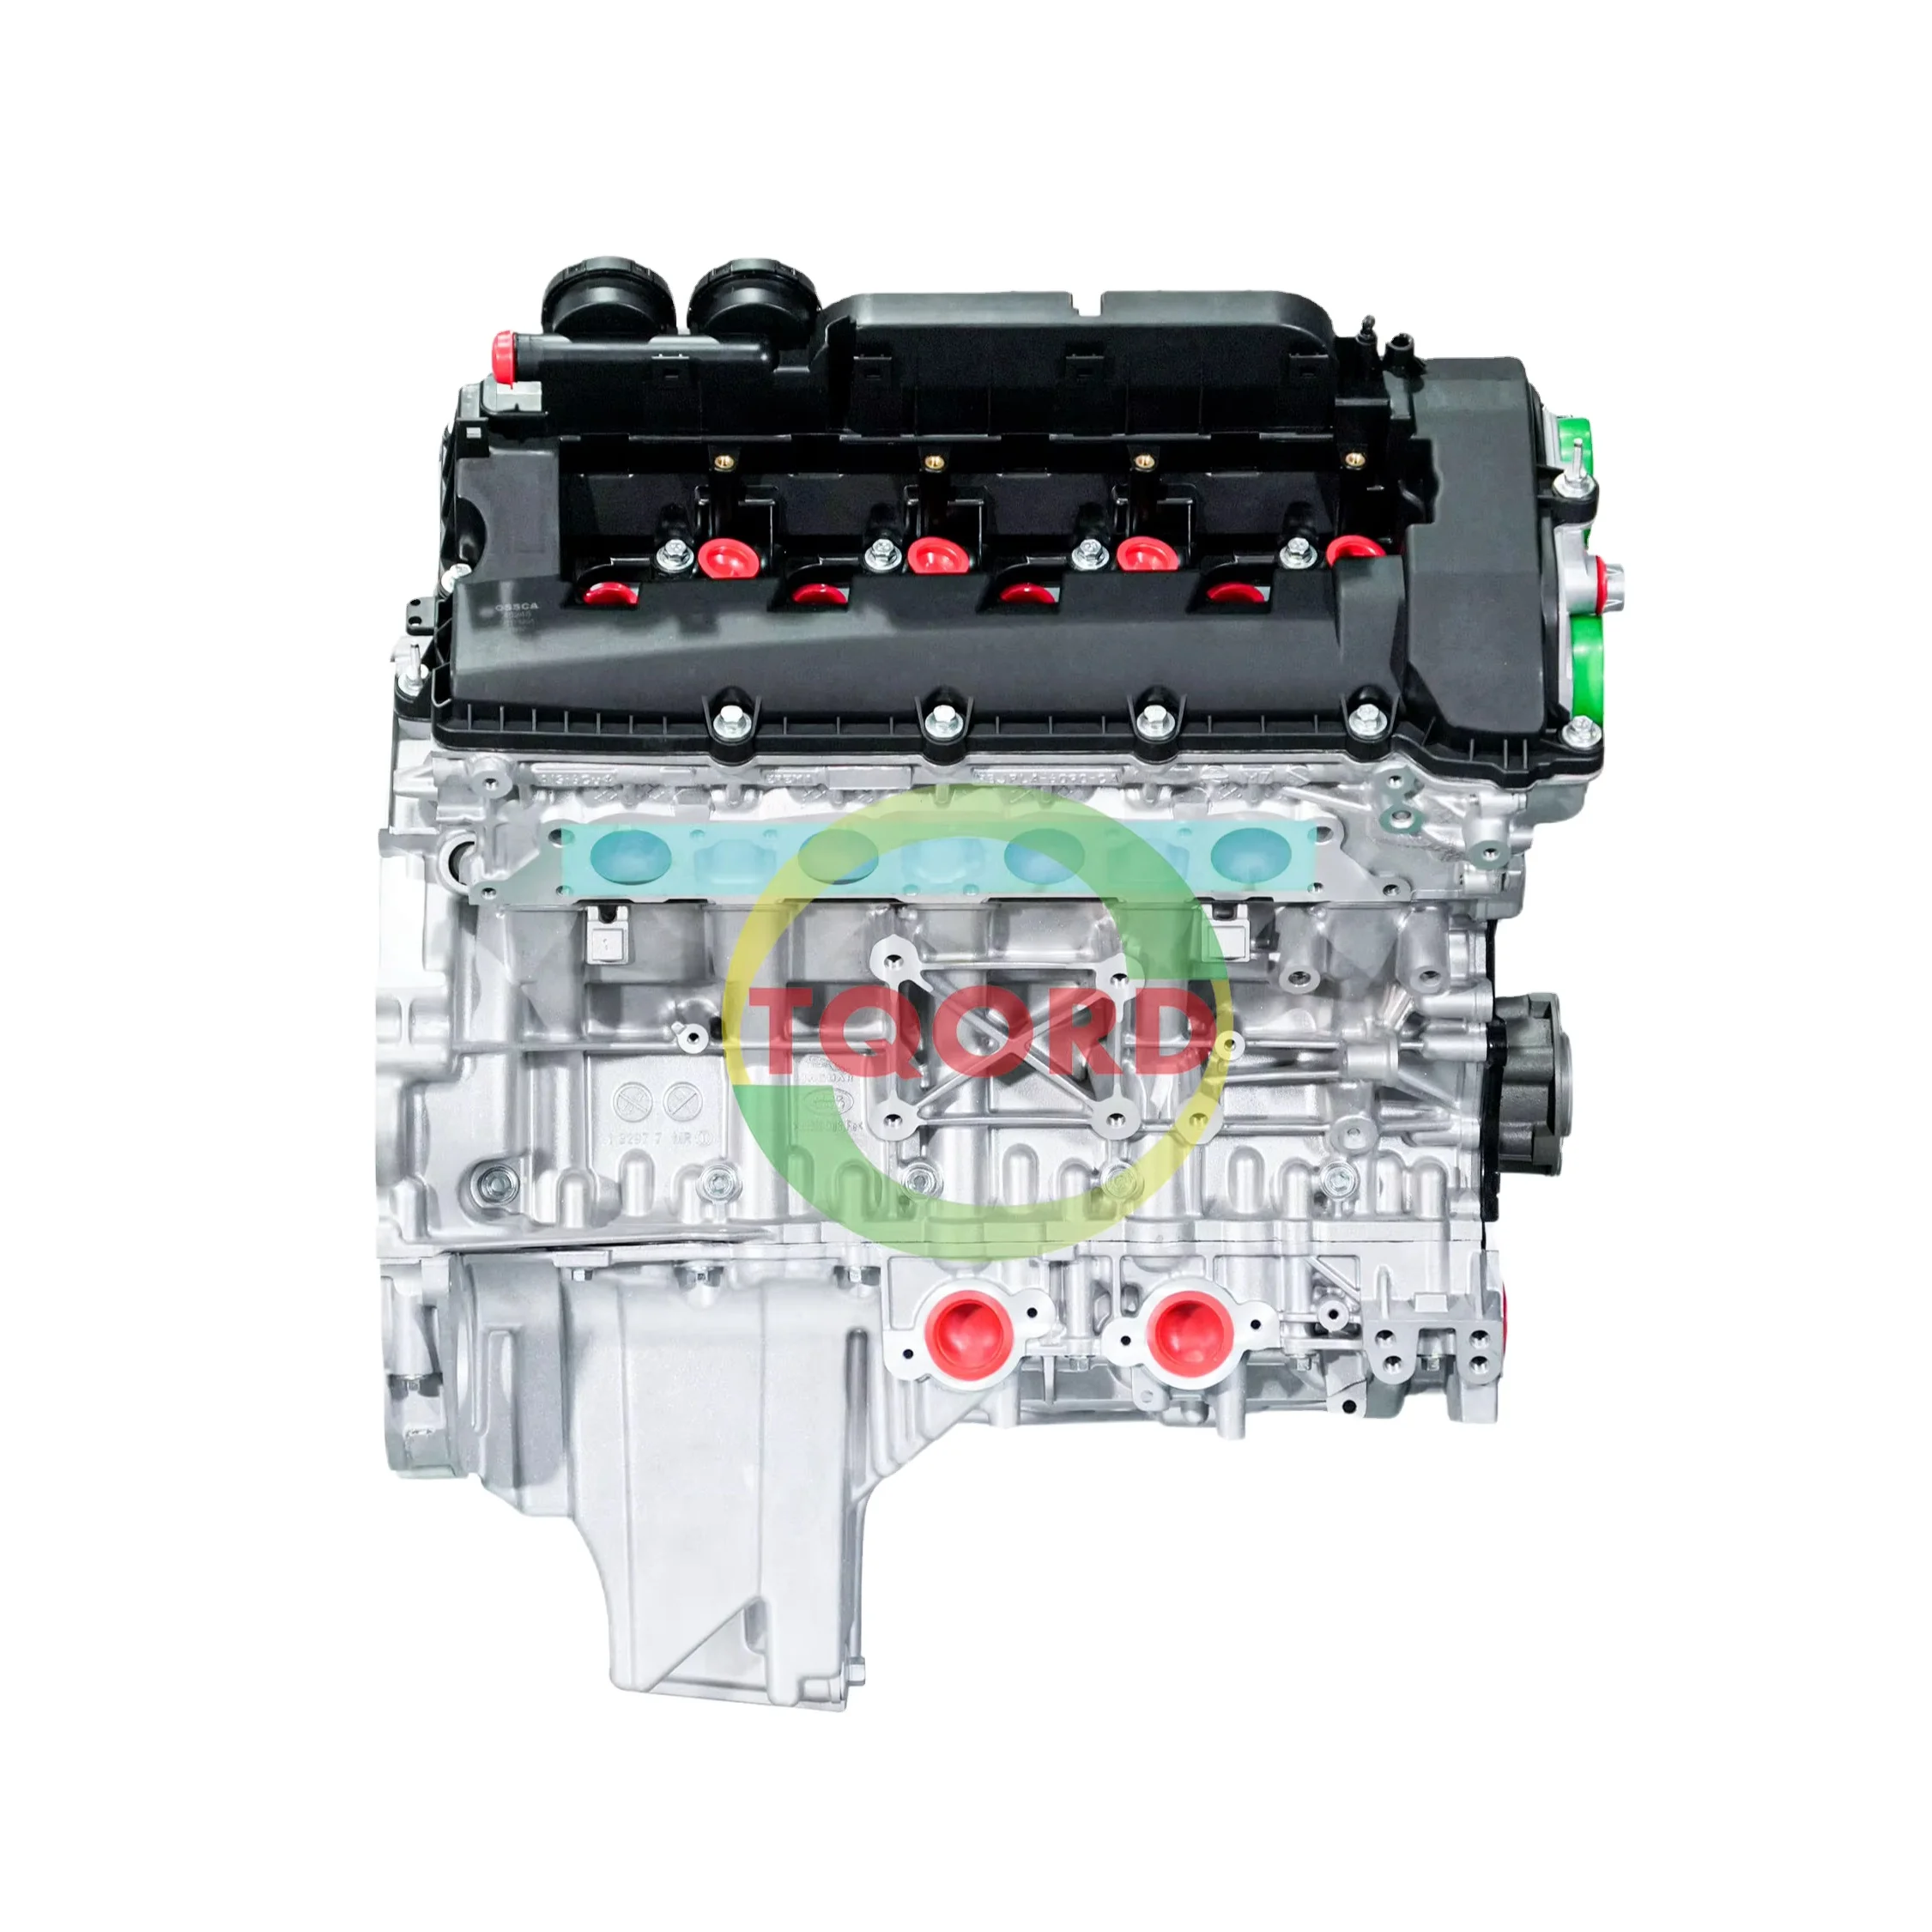
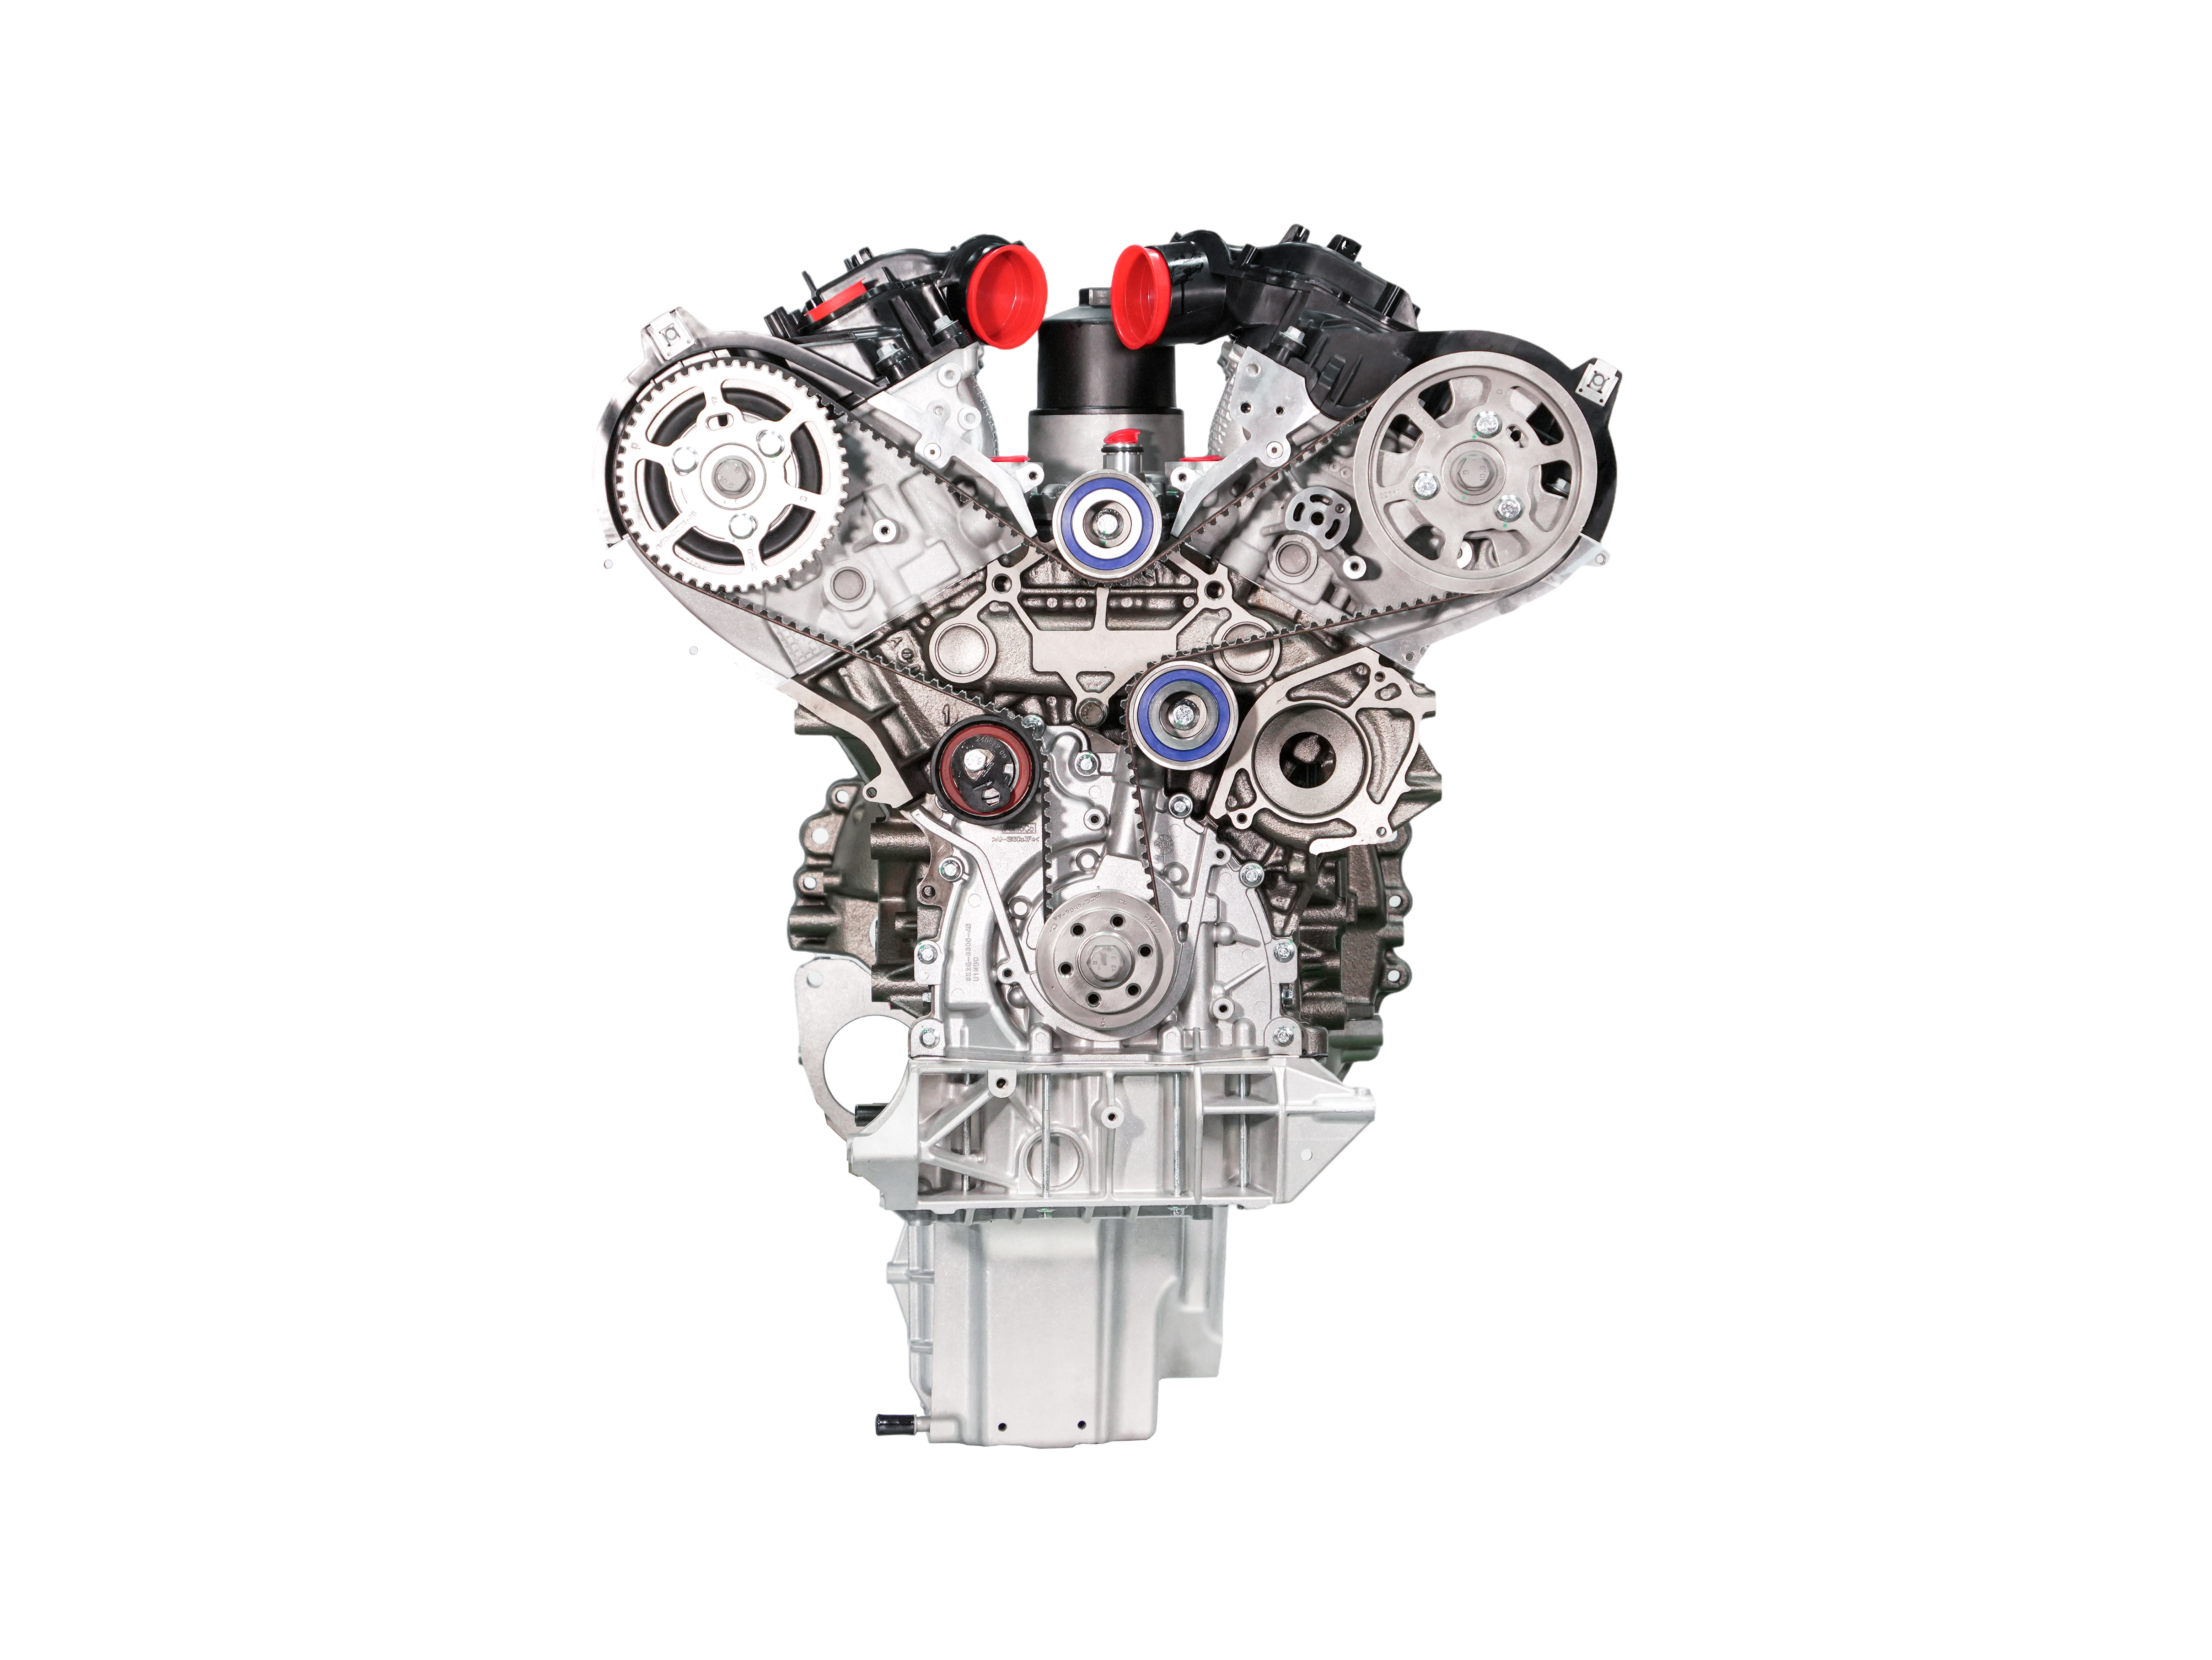
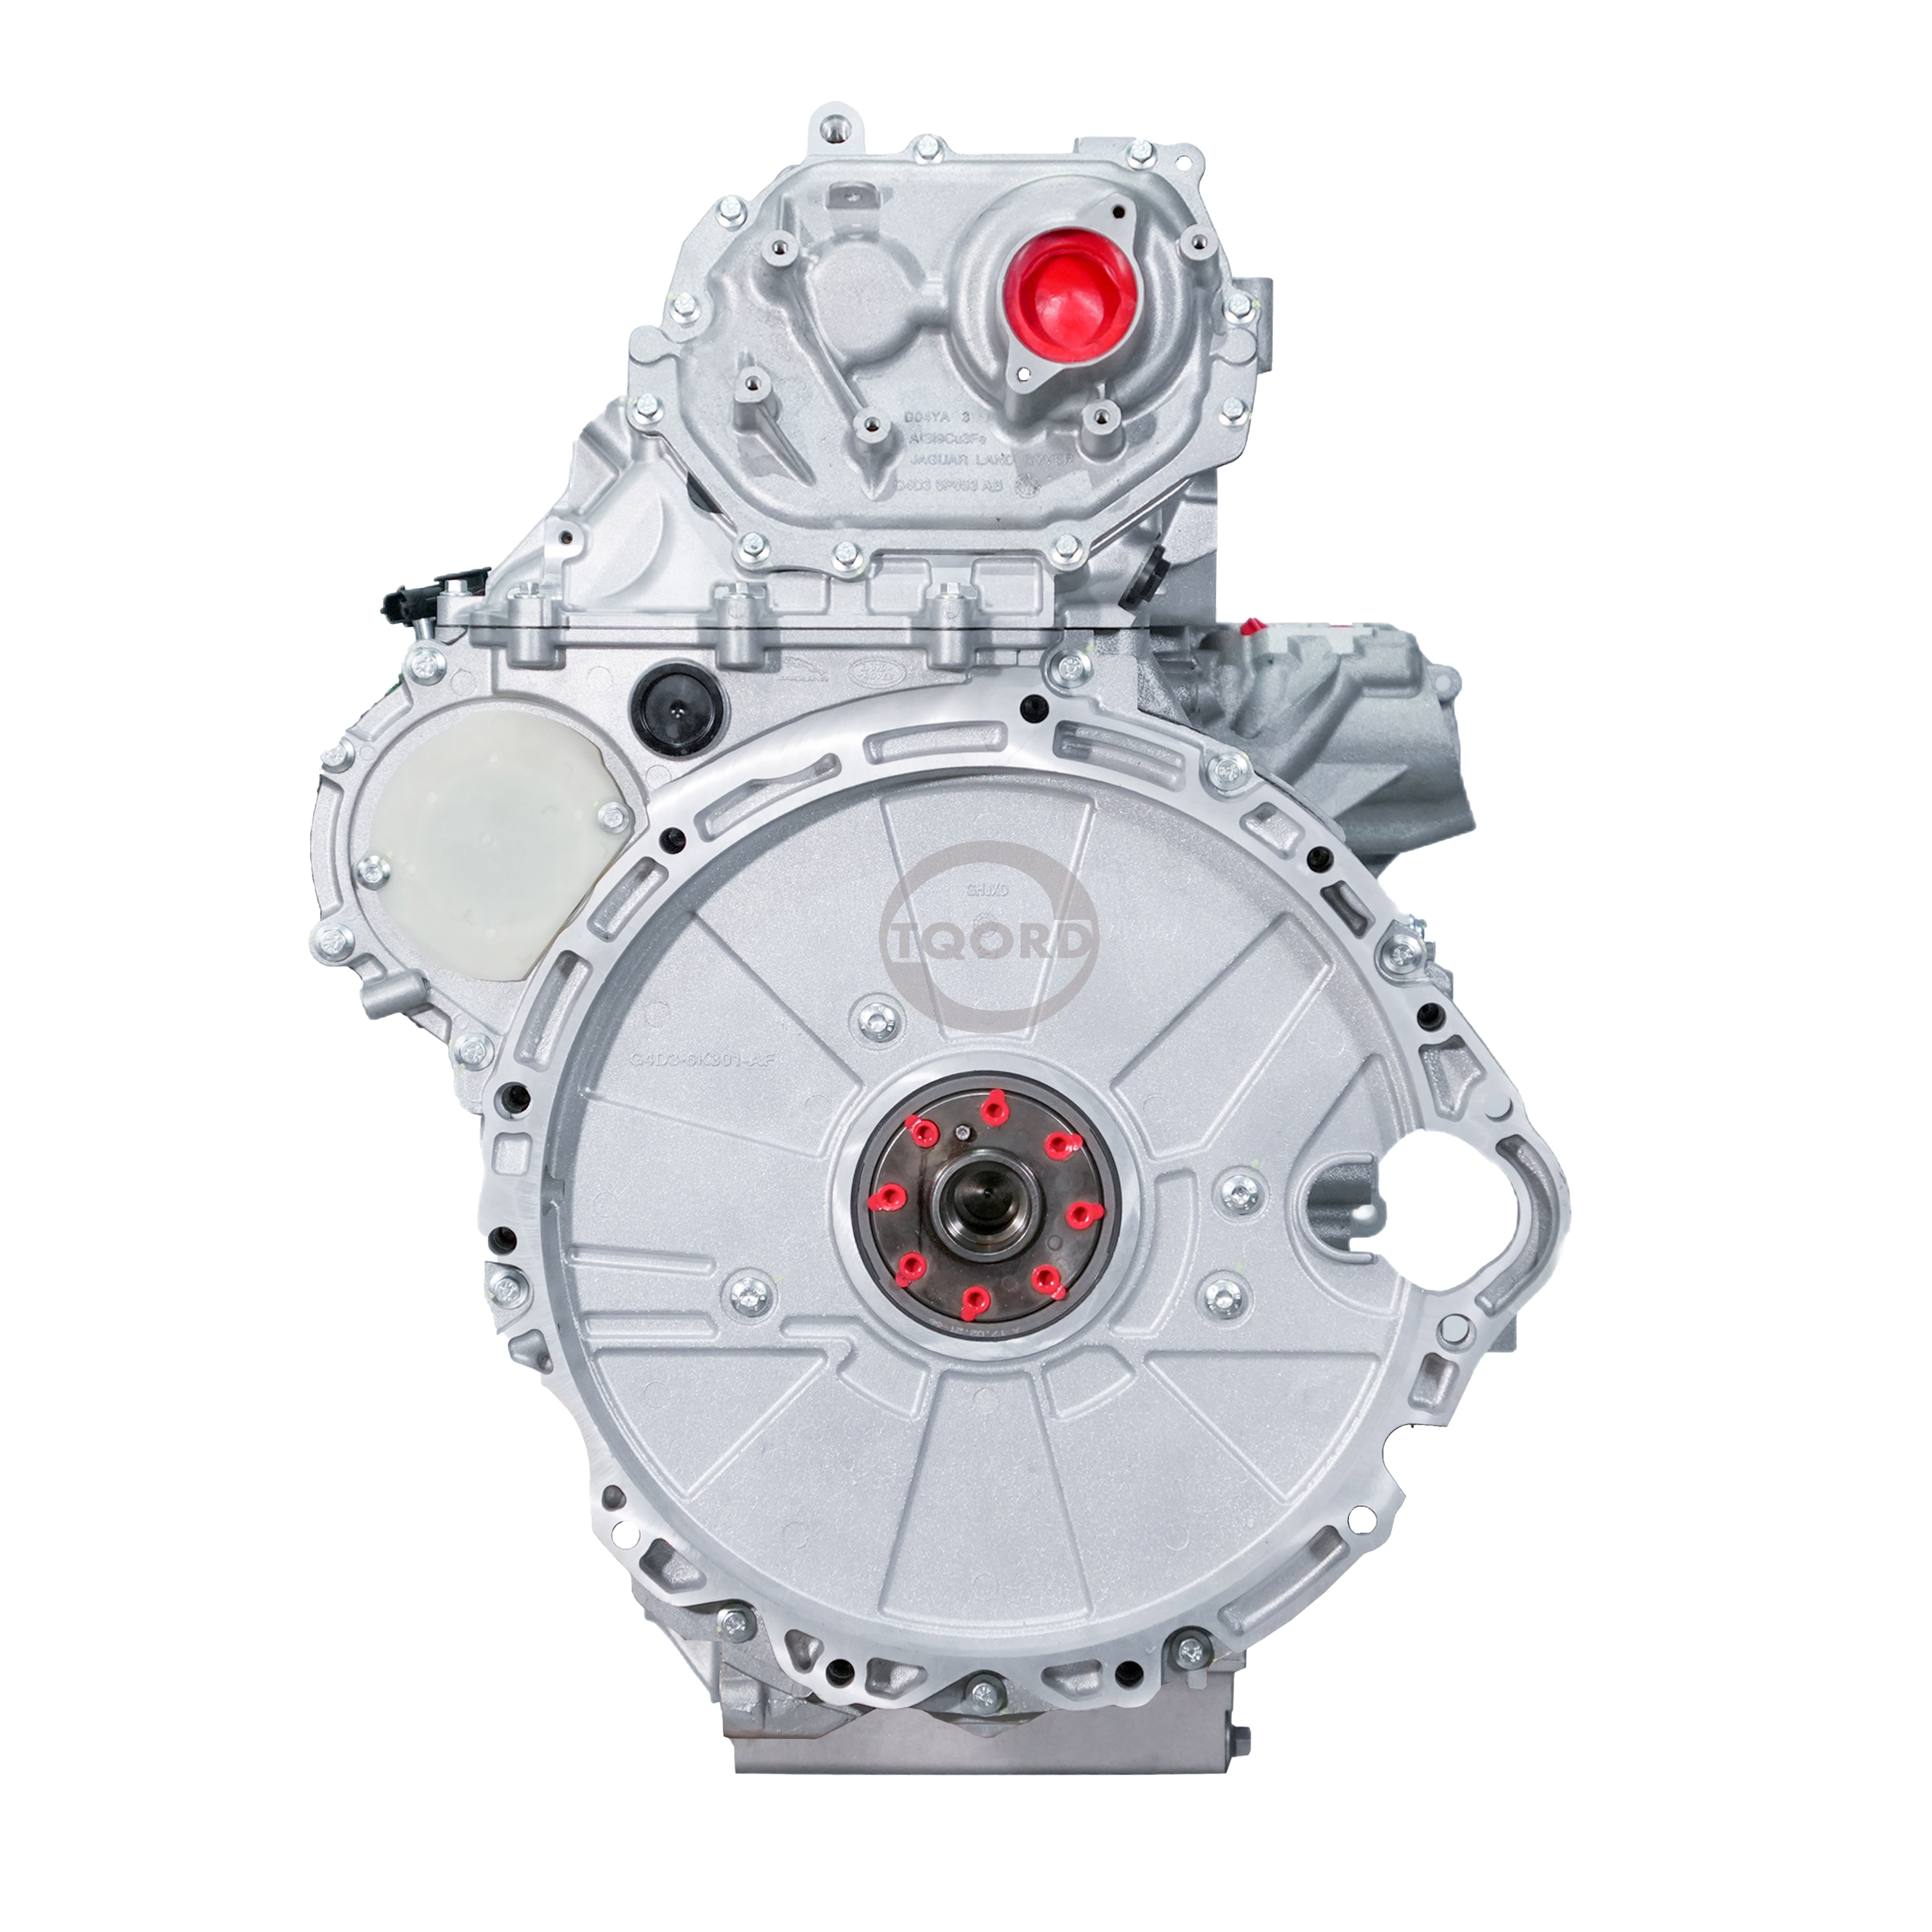
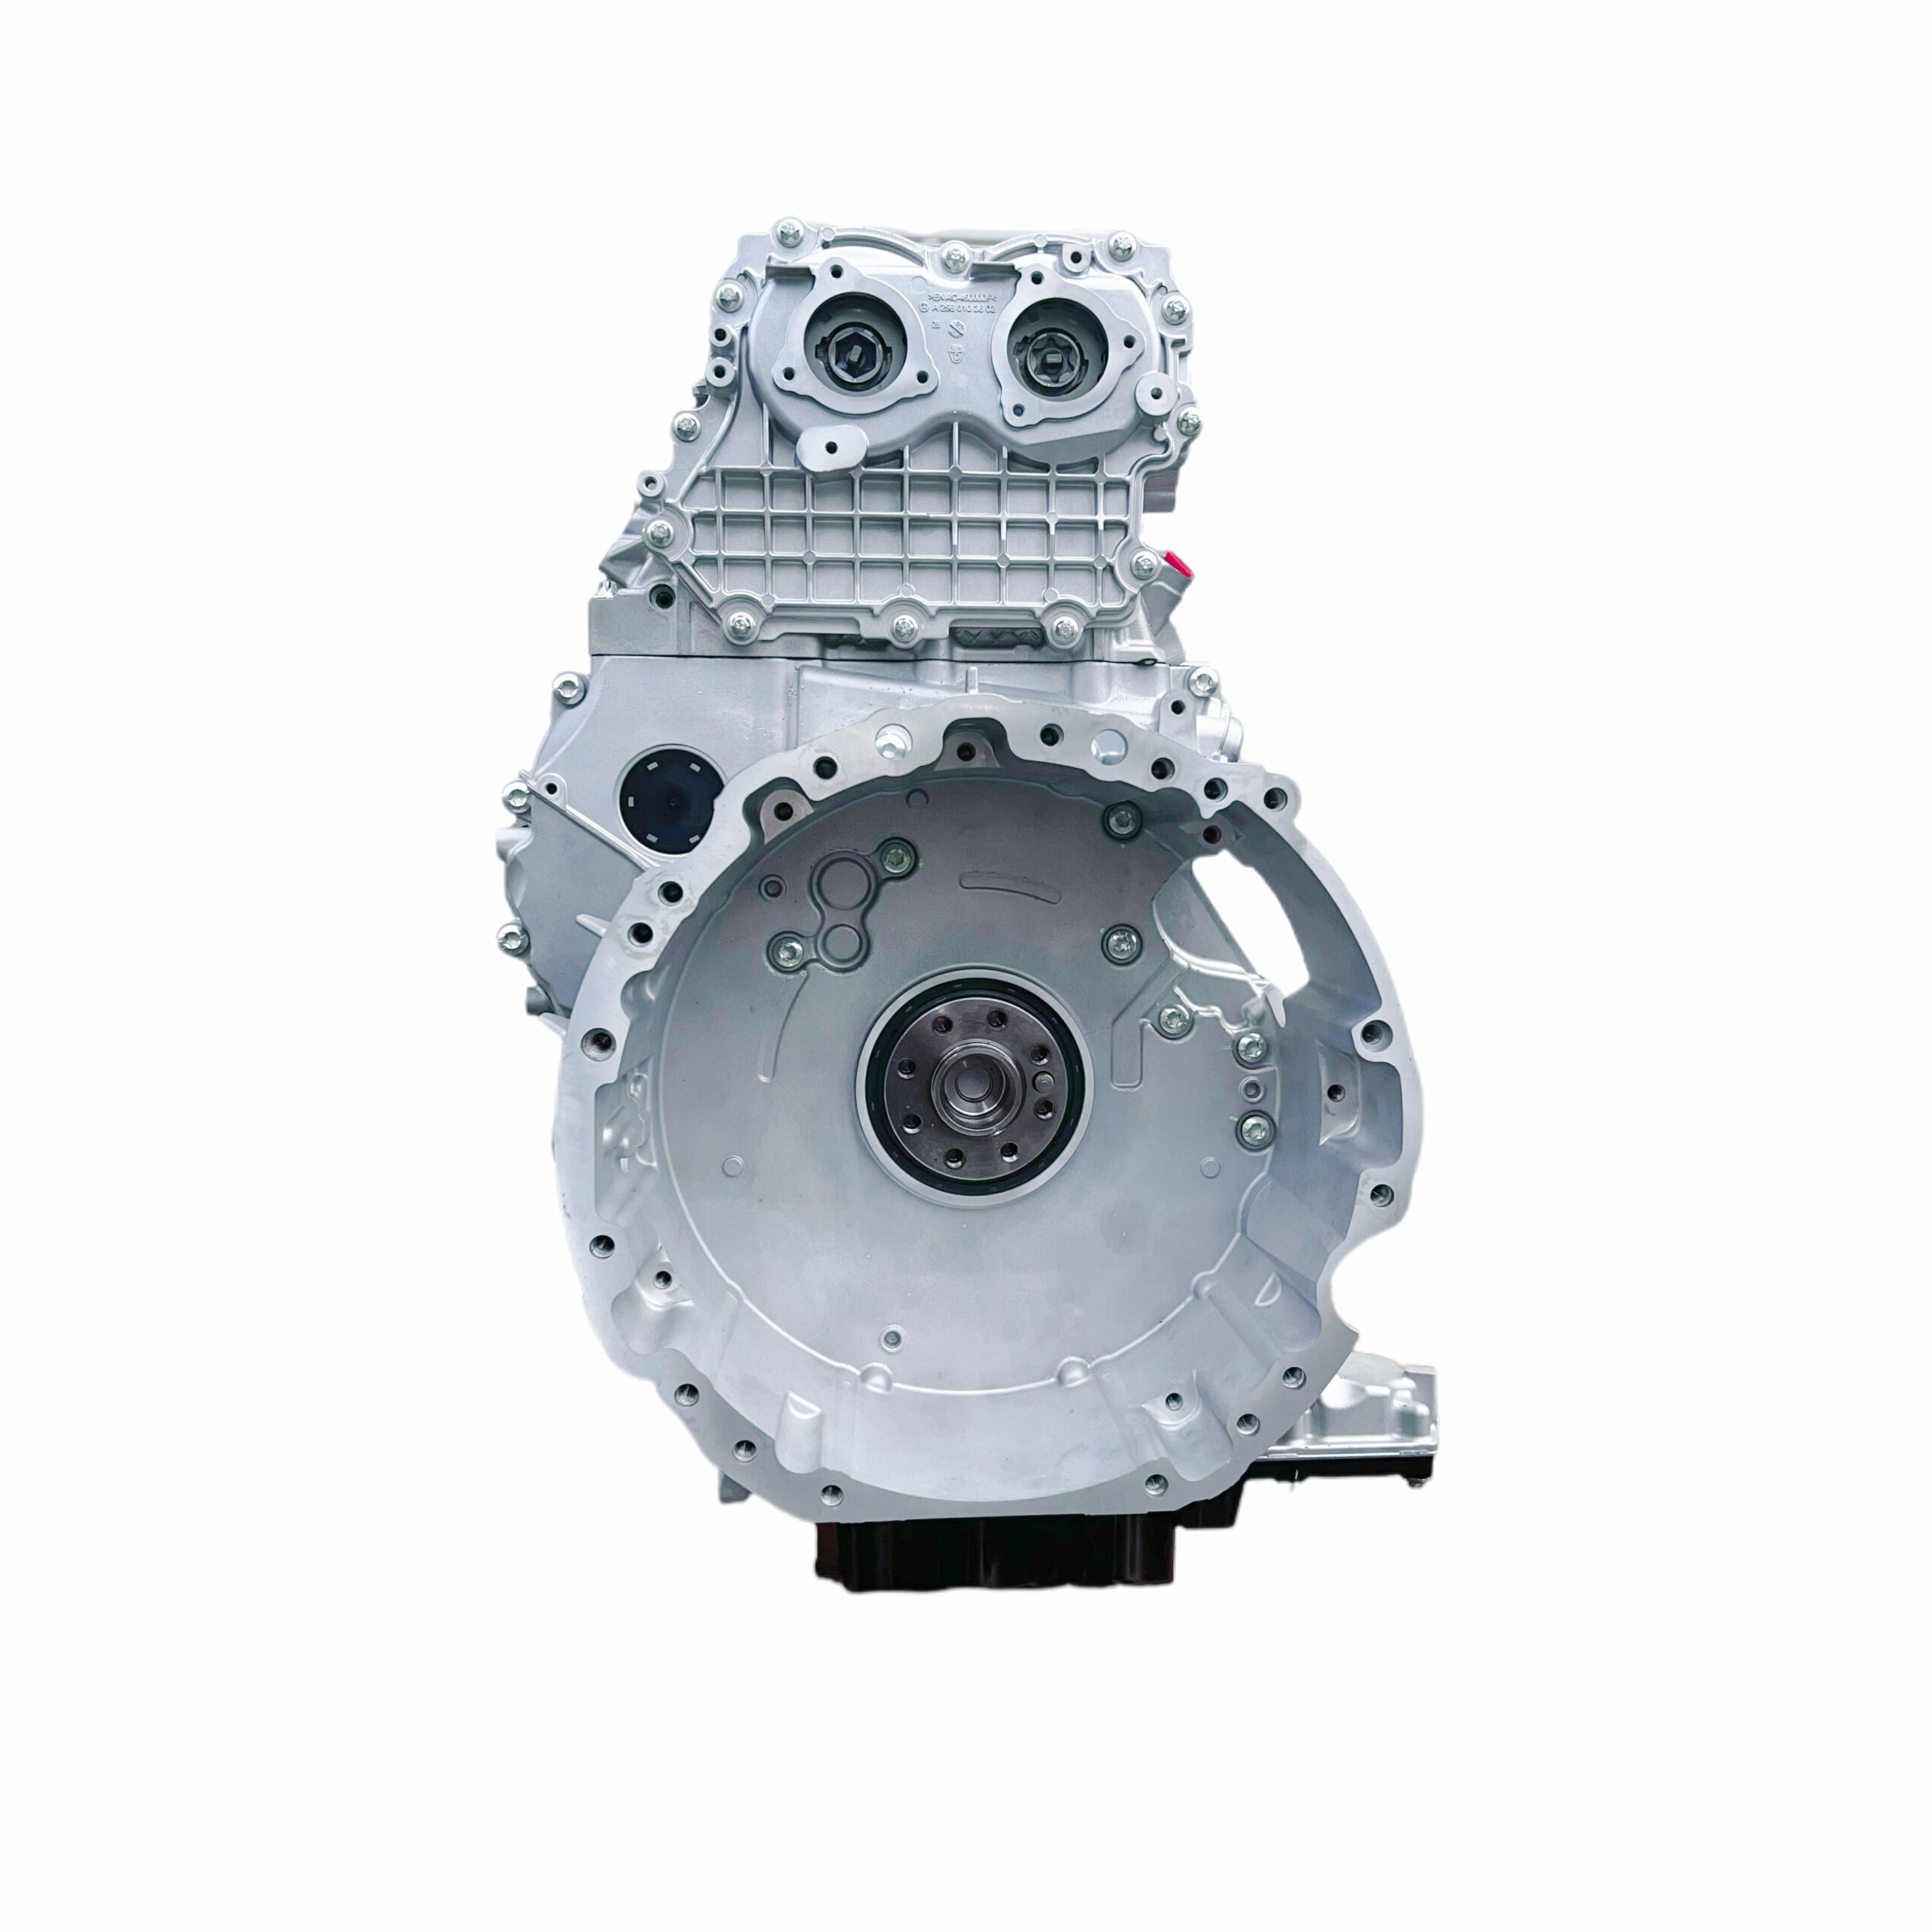
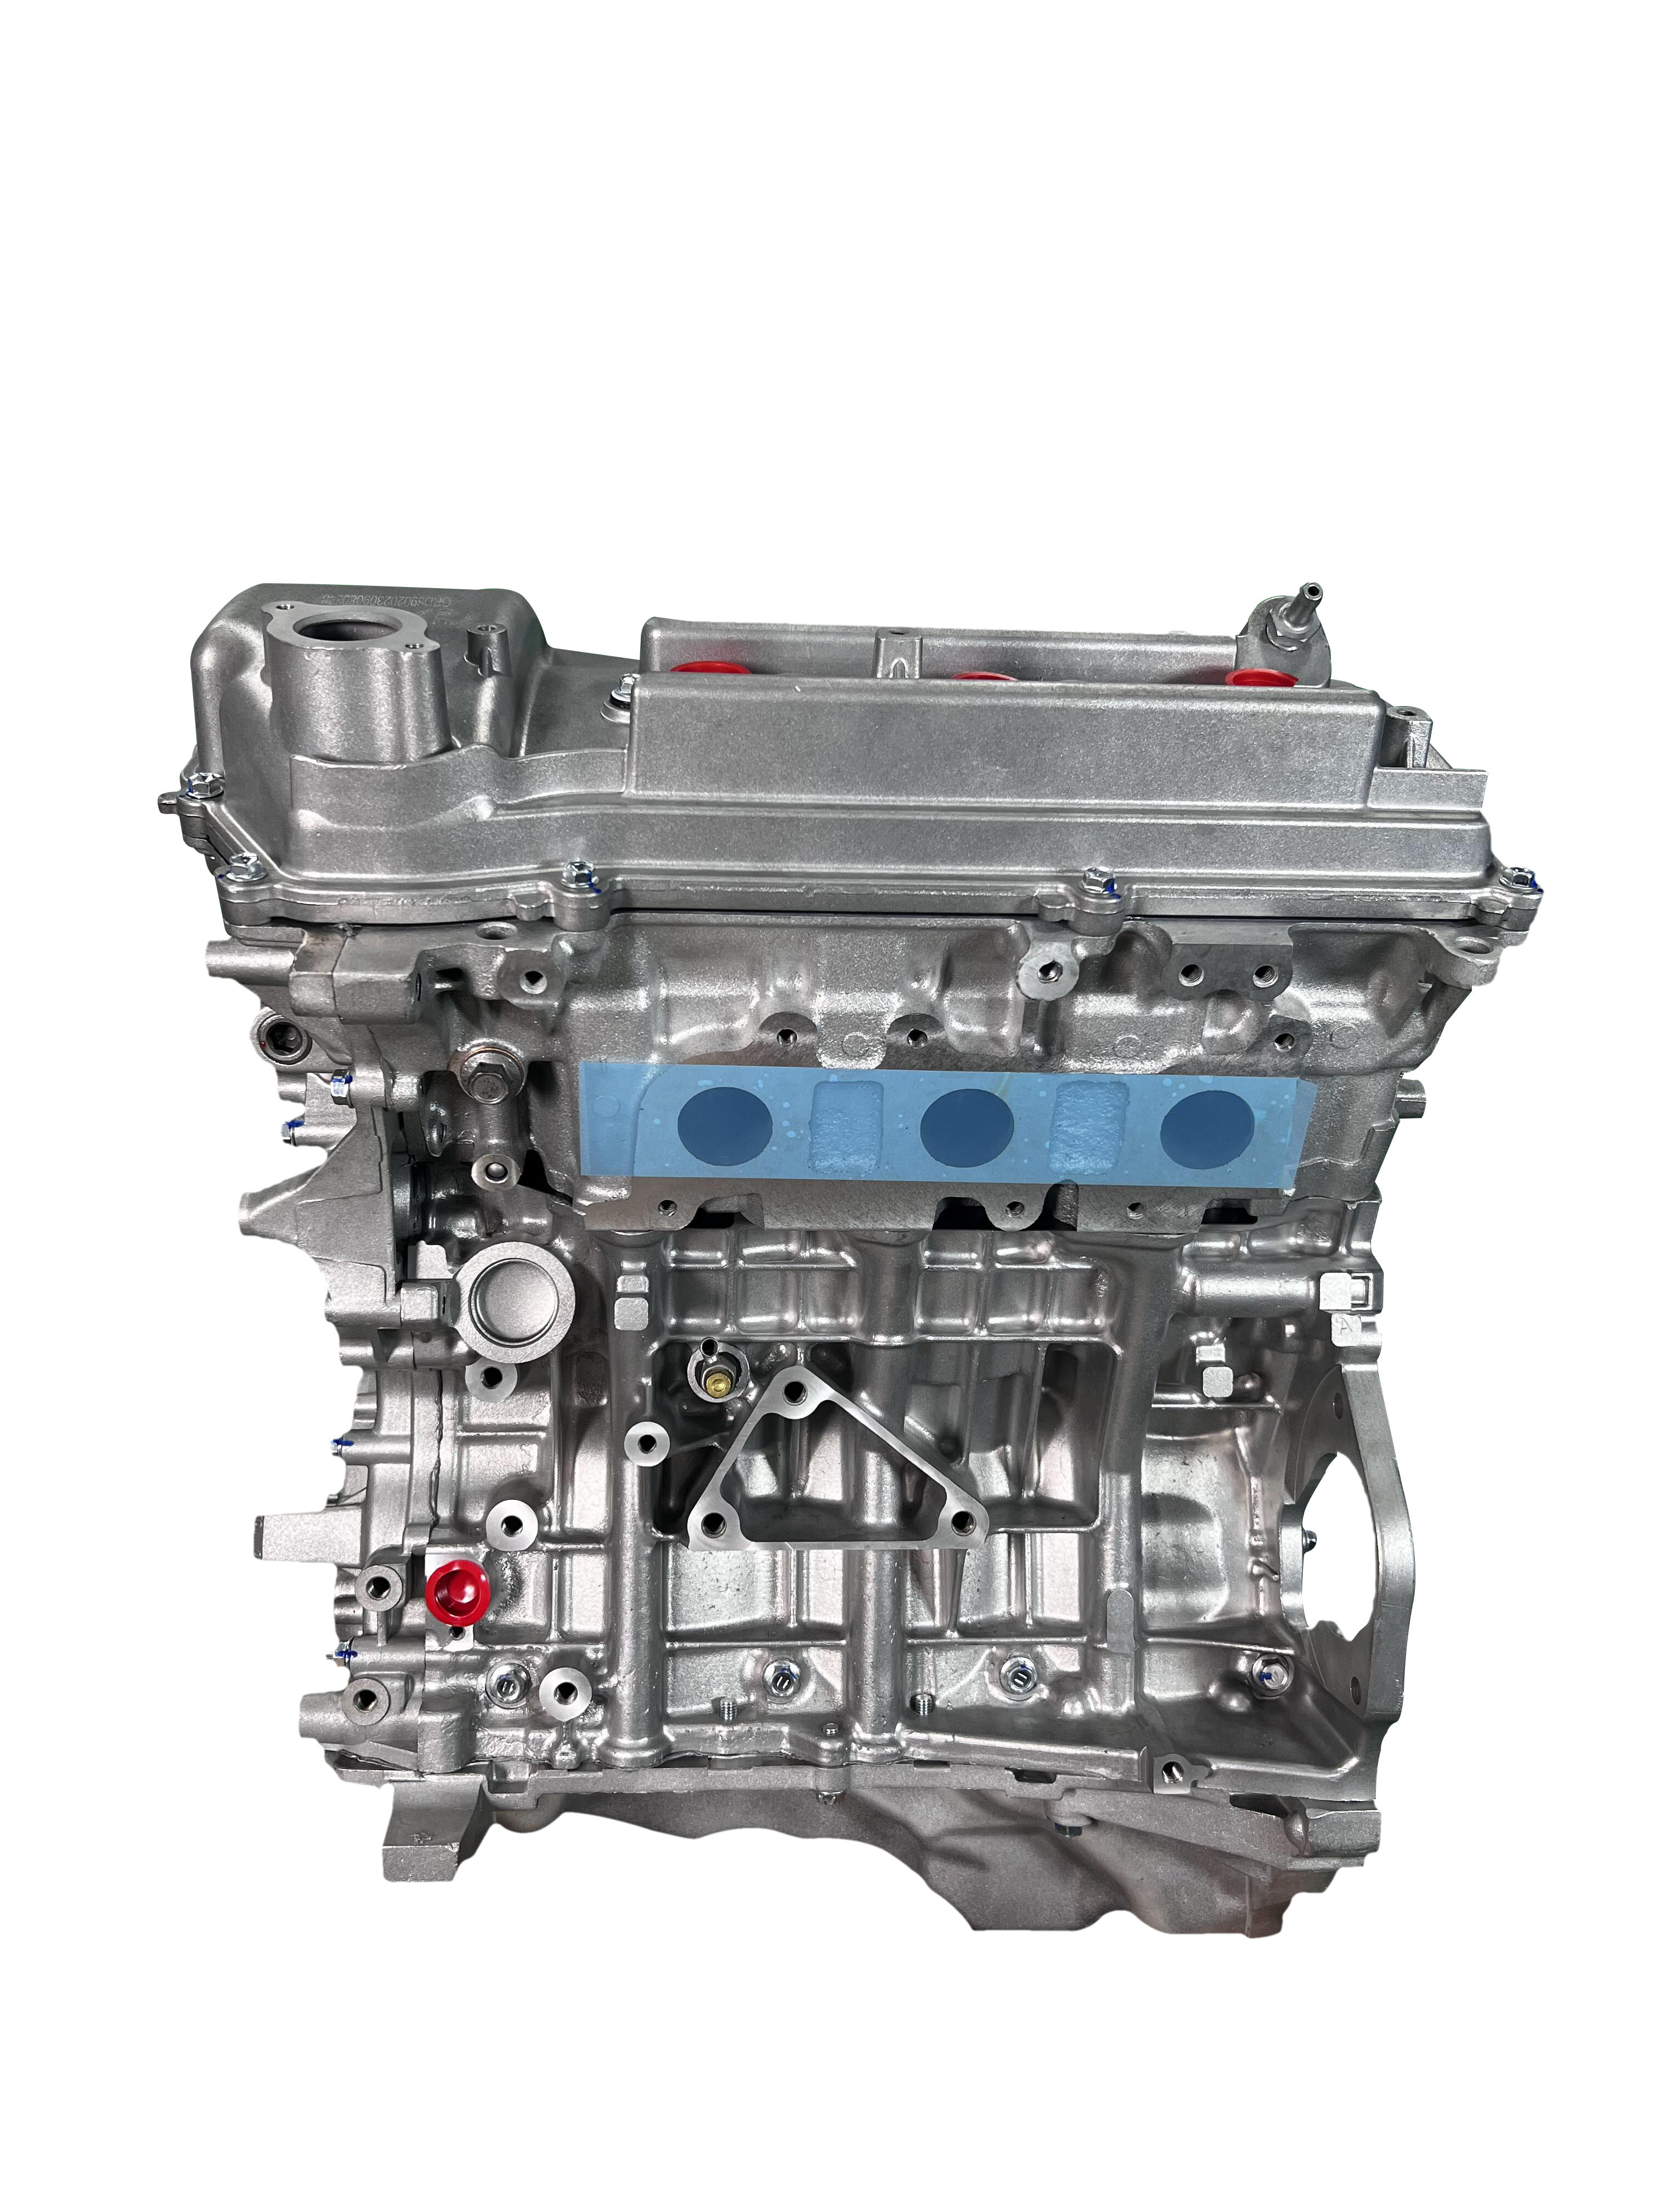
Installing remanufactured engine components requires careful preparation and precise execution to ensure optimal performance and longevity. Understanding how to install remanufactured engine components begins with thorough inspection of all parts upon delivery, checking for damage during shipping and verifying compatibility with your specific engine model. Before installation, clean the engine bay and surrounding areas to prevent contamination. The process involves removing old components systematically, documenting each step with photographs for reference during reassembly. Surface preparation is critical when learning how to install remanufactured engine components, as gasket surfaces must be cleaned completely, free from old sealant residue and debris. Torque specifications provided by manufacturers must be followed precisely using calibrated tools to prevent warping or cracking. New gaskets, seals, and fasteners should always accompany remanufactured parts to ensure proper sealing and compression. The technological features of modern remanufactured components include precision machining to original equipment specifications, updated materials that often exceed original standards, and rigorous testing protocols. Applications span automotive repairs, heavy equipment maintenance, marine engine rebuilds, and industrial machinery restoration. Proper installation techniques directly impact component lifespan, with correct timing belt alignment, crankshaft positioning, and camshaft synchronization being essential. Following manufacturer guidelines on break-in procedures after installing remanufactured engine components ensures proper seating of moving parts and optimal oil circulation throughout the system.